Pages

Thursday, February 5, 2015

1916 Singer Hand Crank Sewing Machine

Side Board in the Red Dining Room

On the dining room side board is a stack of neutral fabrics and a 1916 Singer Hand Crank and Case that I purchased from First Street Antiques in Ishpeming, Michigan, owner Bill Carter.  

I first became interested in hand crank machines when my friend Jerry Johnson demonstrated his 1932 Singer model 99 at summer/fall events.  Everyone who stopped in at Jerry's booth watched him sew, joining strips of fabric  to form 2 lb. balls to loom his great rugs.  Jerry's rugs are fabulous.


1916 Singer Hand Crank Model identification:  
The serial number plate G4595778 is located on the right hand side of the machine bed.


There are no model numbers on these early Singer machines.  However, by answering  a series of questions, it is possible to identify the model quickly and accurately.  

Question 1: Electric or people powered?  - Answer: people power by hand crank

Flywheel and Hand Crank

Question 2: Drop in Bobbin, or Vibrating Shuttle?  - Answer: Vibrating Shuttle.
Vibrating Shuttle (bullet shaped shuttle) holds bar-bell shaped wound bobbin
Look at the beautiful gold decals.  Antique and Vintage Singer sewing machines and other brands featured beautiful painted and decal designs.  My 1916 machine decal pattern is "Victorian."

Question 3: Location of  bobbin winding mechanism: top right.
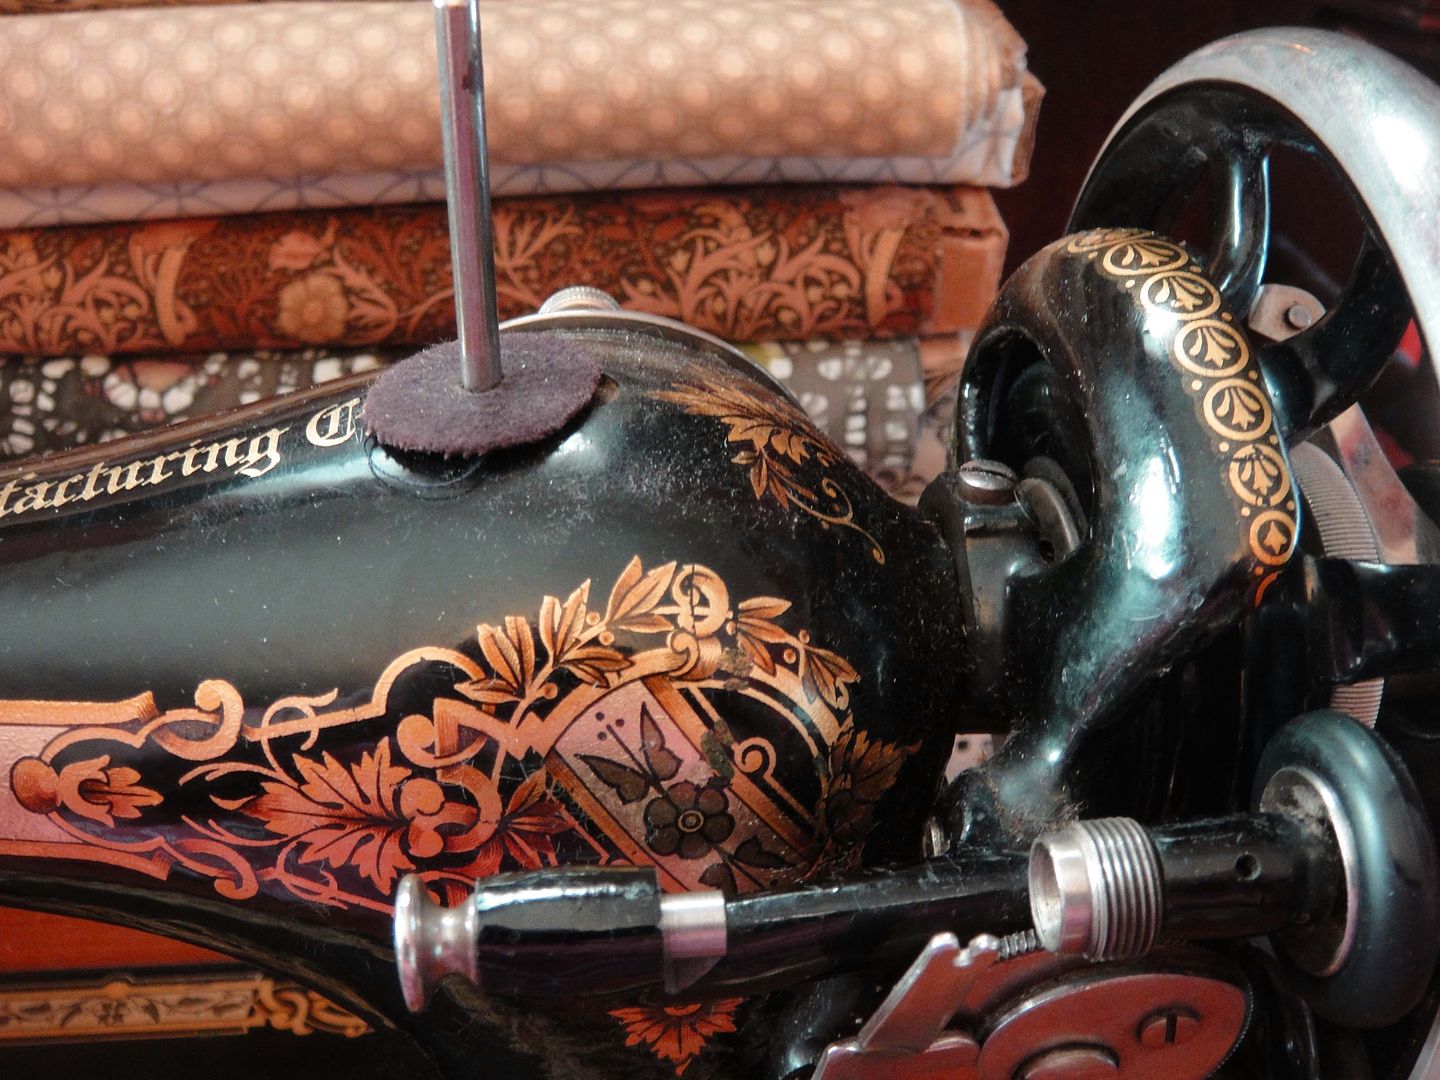
Bobbin Winder

Engraved End Plate is Flat with Rounded Edges

Question 4 - Comparing style of end plate - mine is a decorative engraved flat end plate with rounded edges. 

Question 5 - what is the machine bed width?  Answer:  12-5/32" wide.  

From these answers--my 1916 Singer Hand Crank Sewing Machine is a Model 128.  It is a 3/4 size machine.  

Note: Model 127 machines have a bigger machine bed width, 14-15" wide.

Singer Manufacturing Co. Logo on the case
1916 Singer Model 128, Hand Crank Sewing Machine

For fun, I put some quilt blocks on the machine--to photograph.
(a quilt I'm working on today)

First Street Antiques owner Bill Carter included an extra vibrating shuttle, and this little container of  Boye Needles.
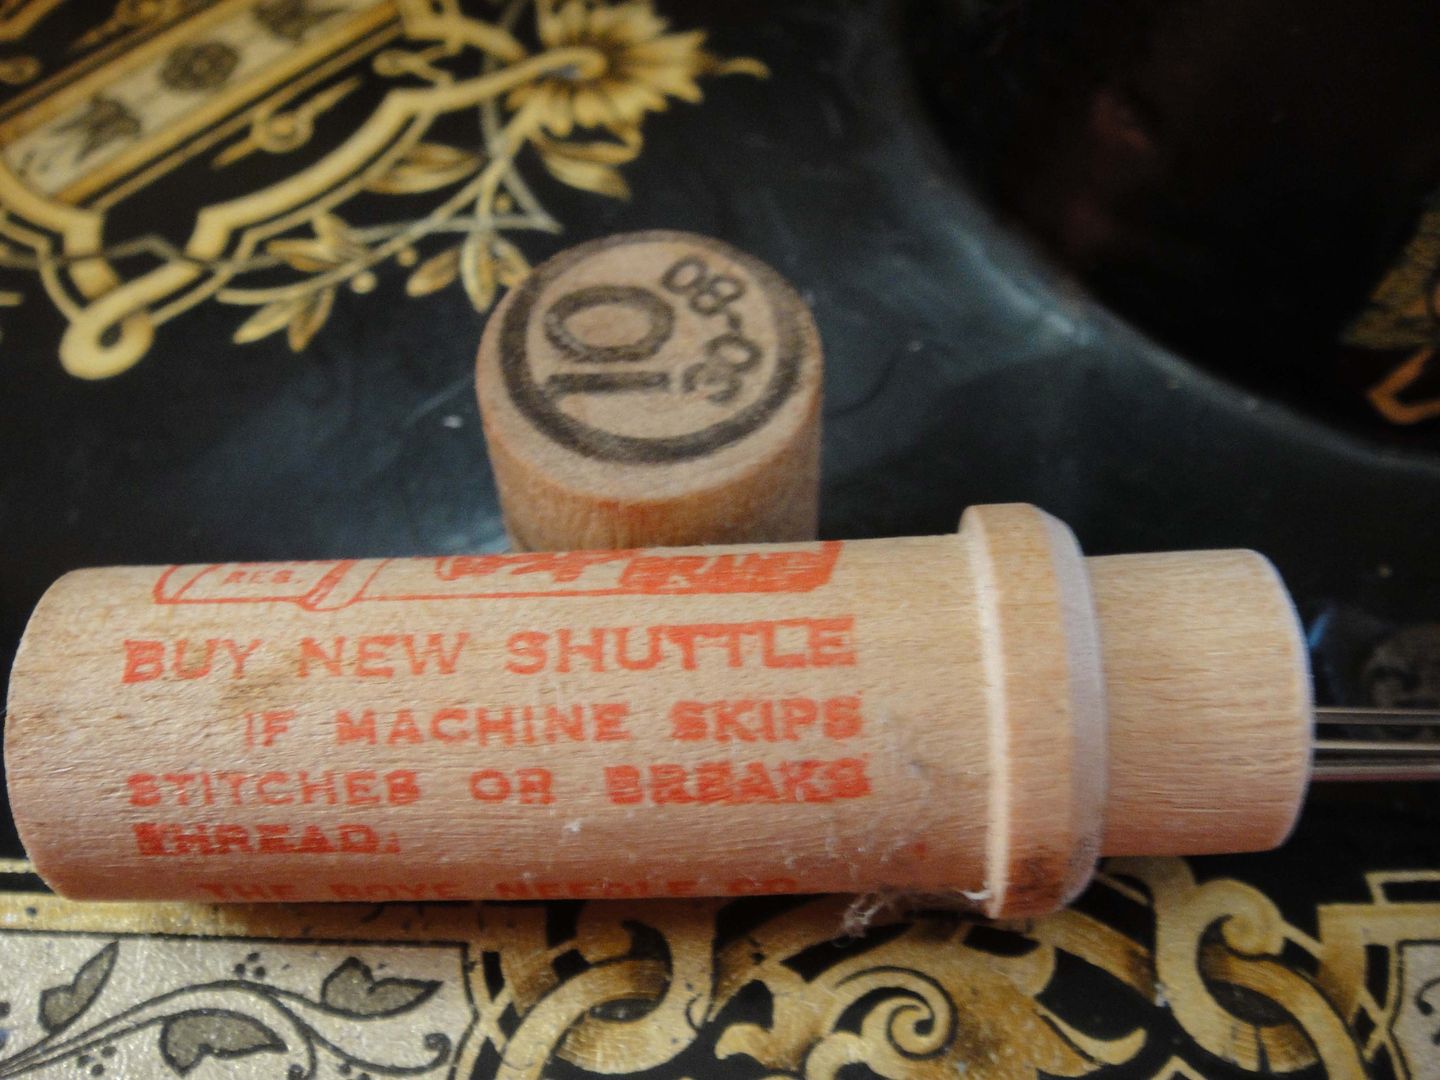
Rolling the container- more information


Thanks for taking  look at my new machine.  
I plan to take it with me when I do shows this summer to demonstrate.

Tuesday, January 27, 2015

Quilting the BlueJeans Quilt

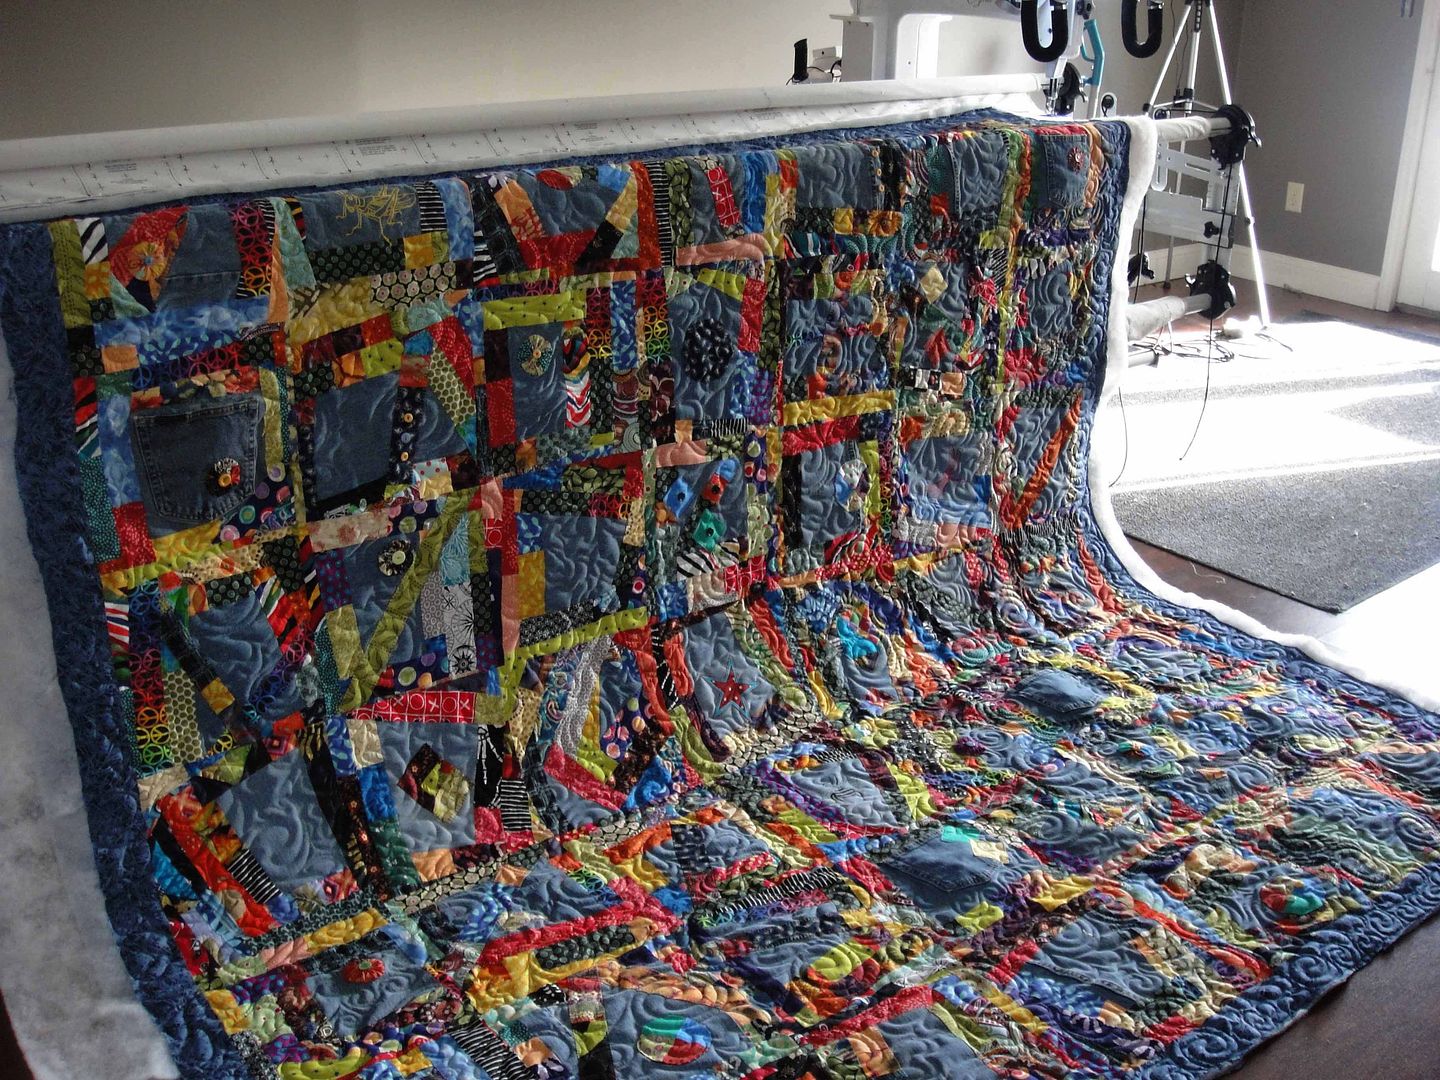
Here's the finished blue jeans quilt

I laid it across the dining room table and flipped over 10 inches of the backside in order to hand stitch the binding in place. 

Let me back up a couple of photos, and show you how I quilted it on the frame.


Every job has a beginning, a middle, and an end. 

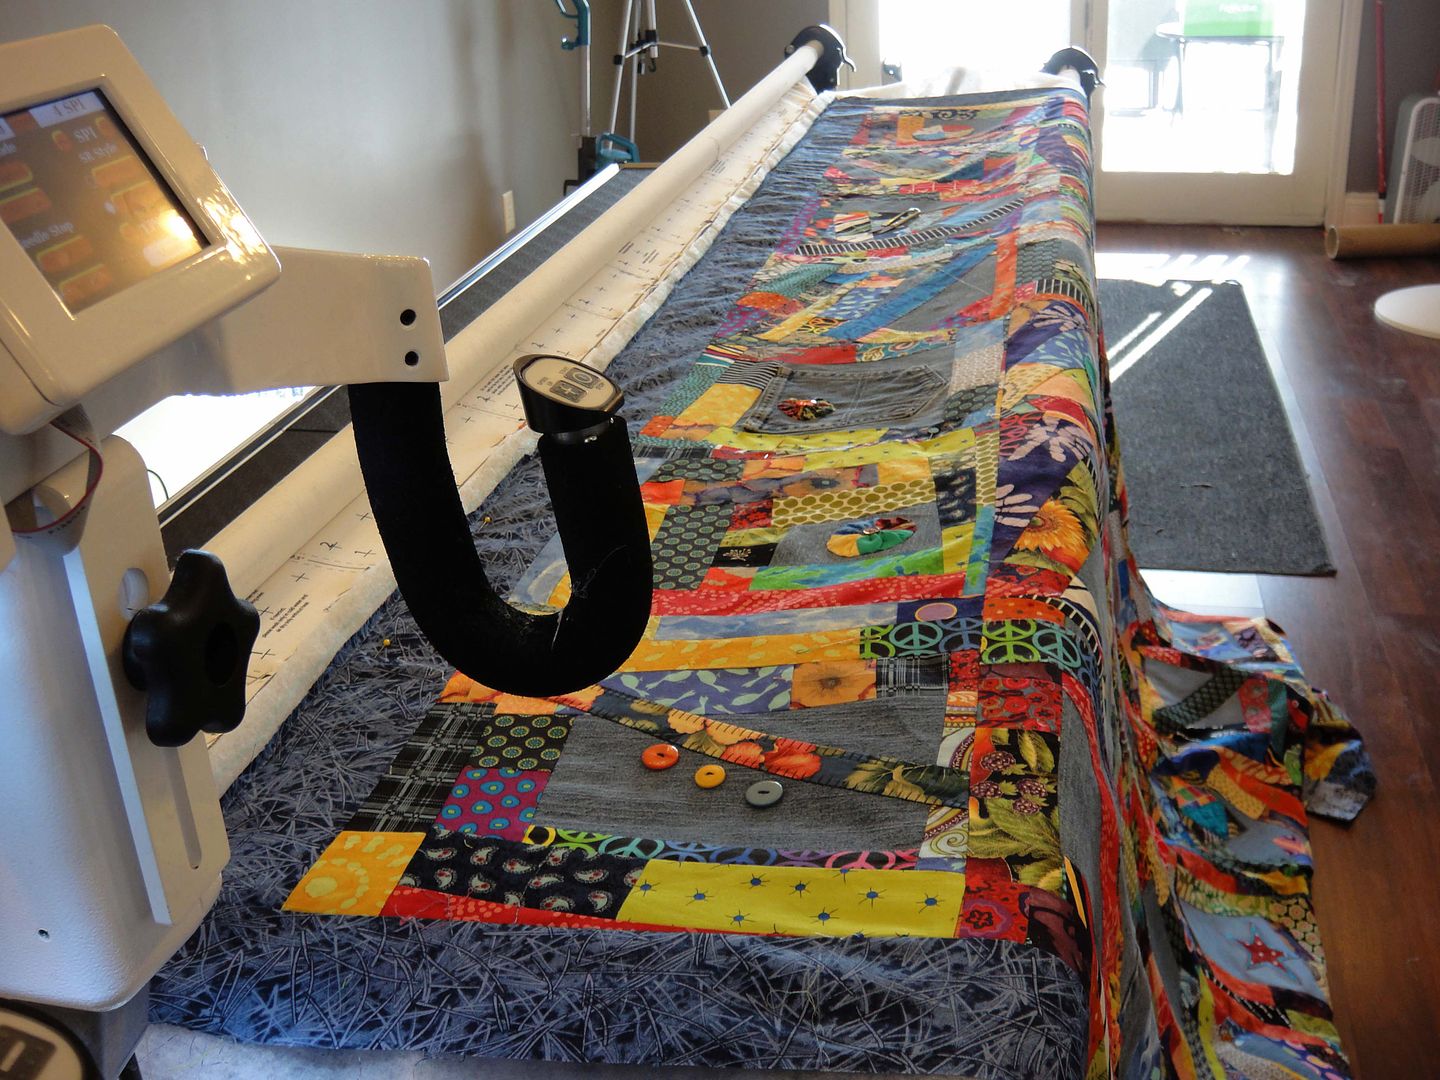
This is the beginning of the long arm quilting process.  

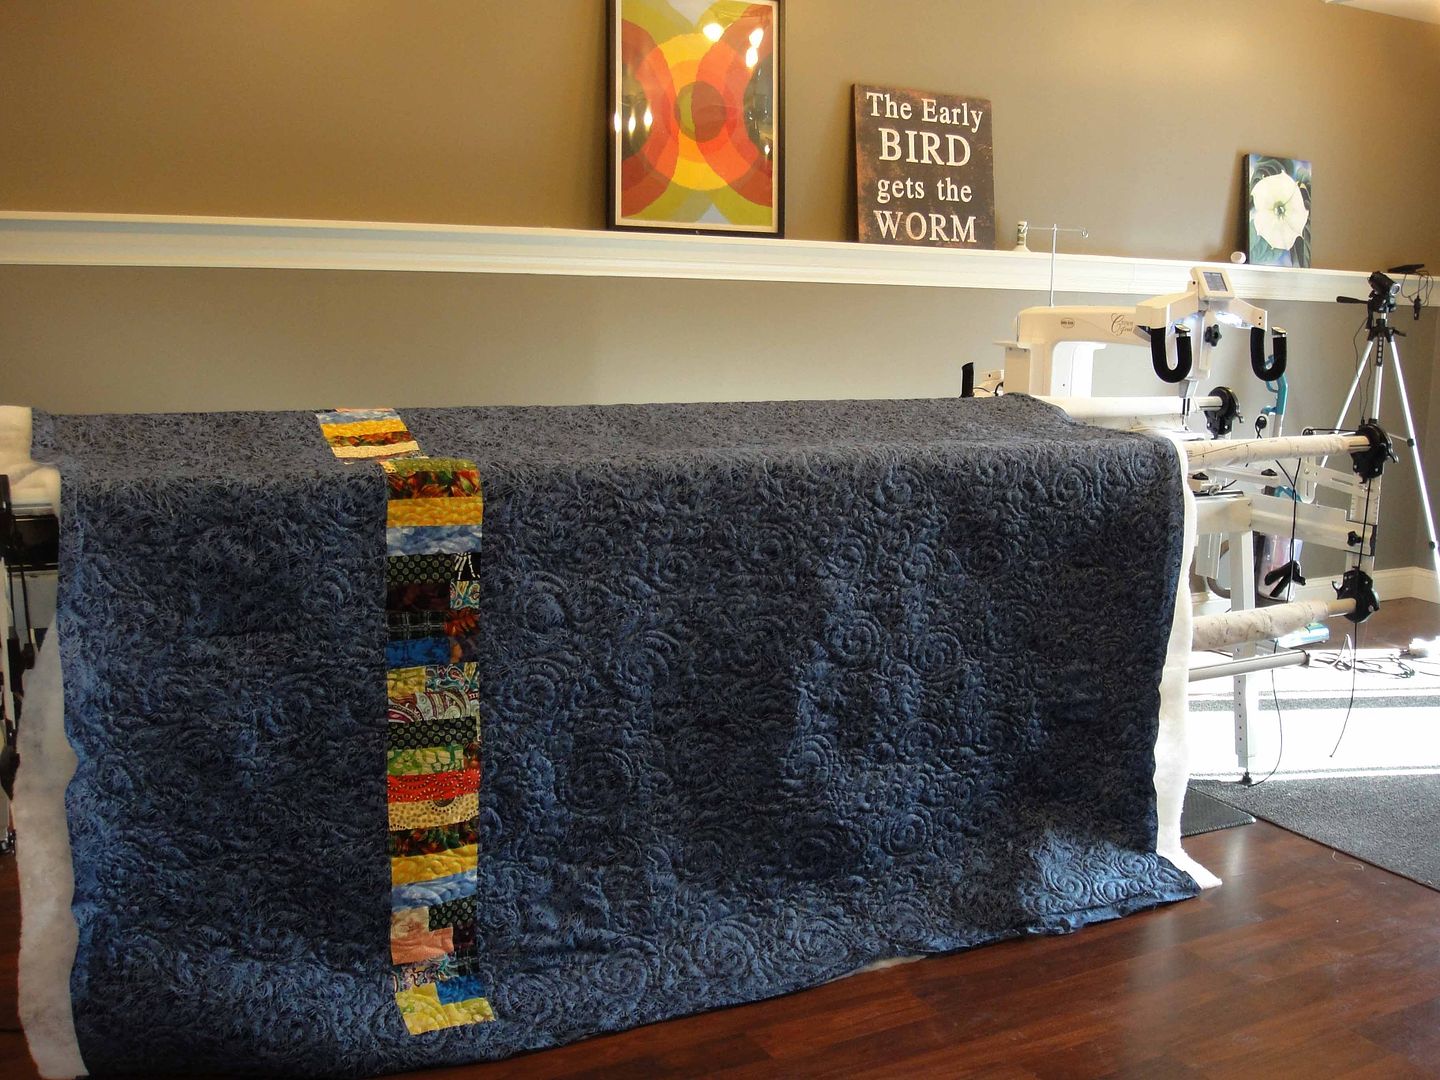
The dark blue fabric backing (underneath) is attached to the frame and is rolled on the leaders of the middle rail (belly bar), and the upper rail (take up rail).  Those rails advance the quilt during the quilting process. 

I like to "float" the batting and top during the quilting process.  Floating means the batting and top are laying on the backing and are not pinned to rails.  I like this method and it allows me to make minor adjustments if necessary.

Upper left of photo is the take up rail with the leader cloth rolled, then moving down you see the leader cloth with reference marks so the batting and quilt top are straight.  And as you can see, I've already started my swirl and fish tail design.  Ha Ha my new design I call Fish Feathers.  


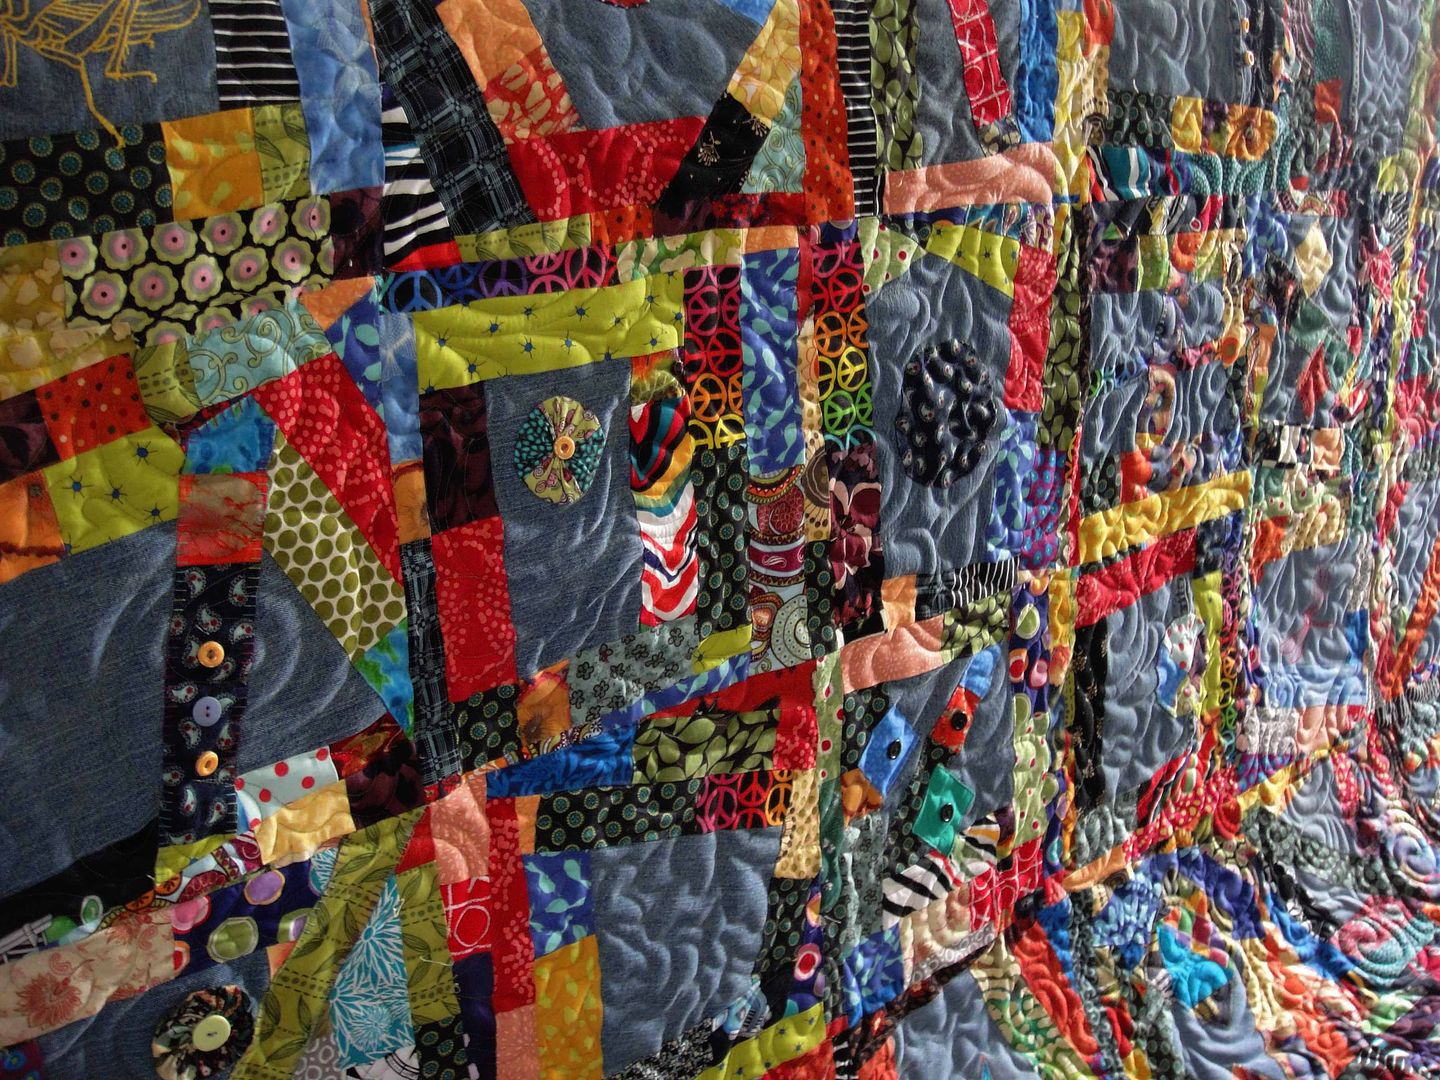
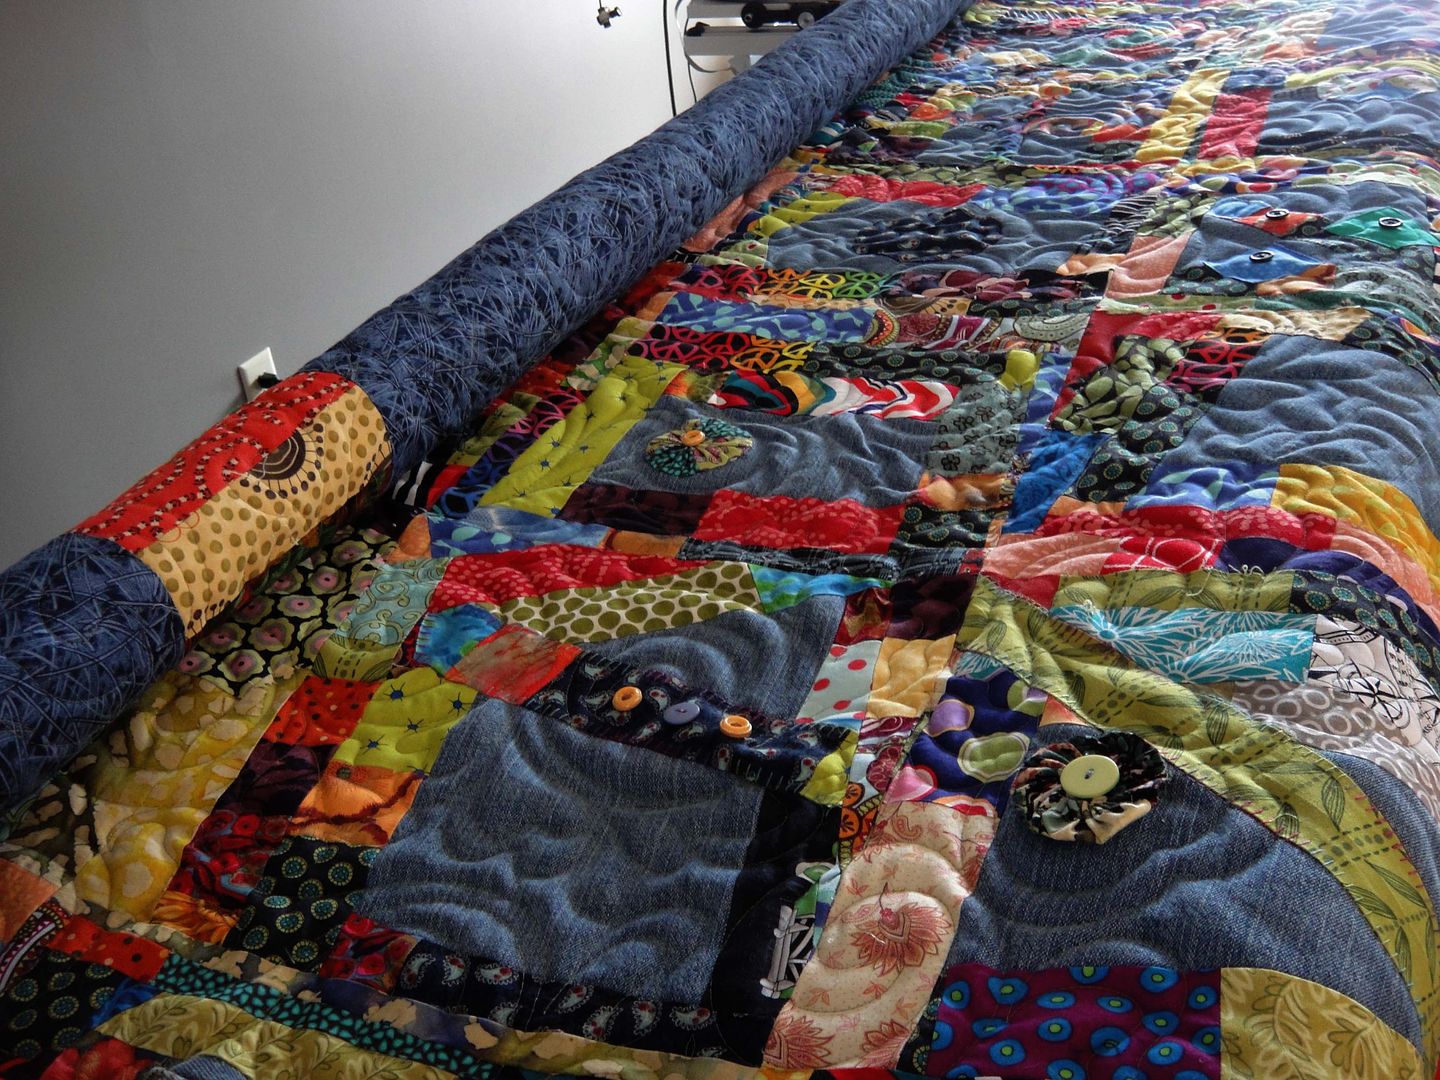
I had such fun making the blocks for this quilt with 3 pair of old blue jeans, including pockets, and a zipper.  I put the zipper block at the bottom of the quilt.


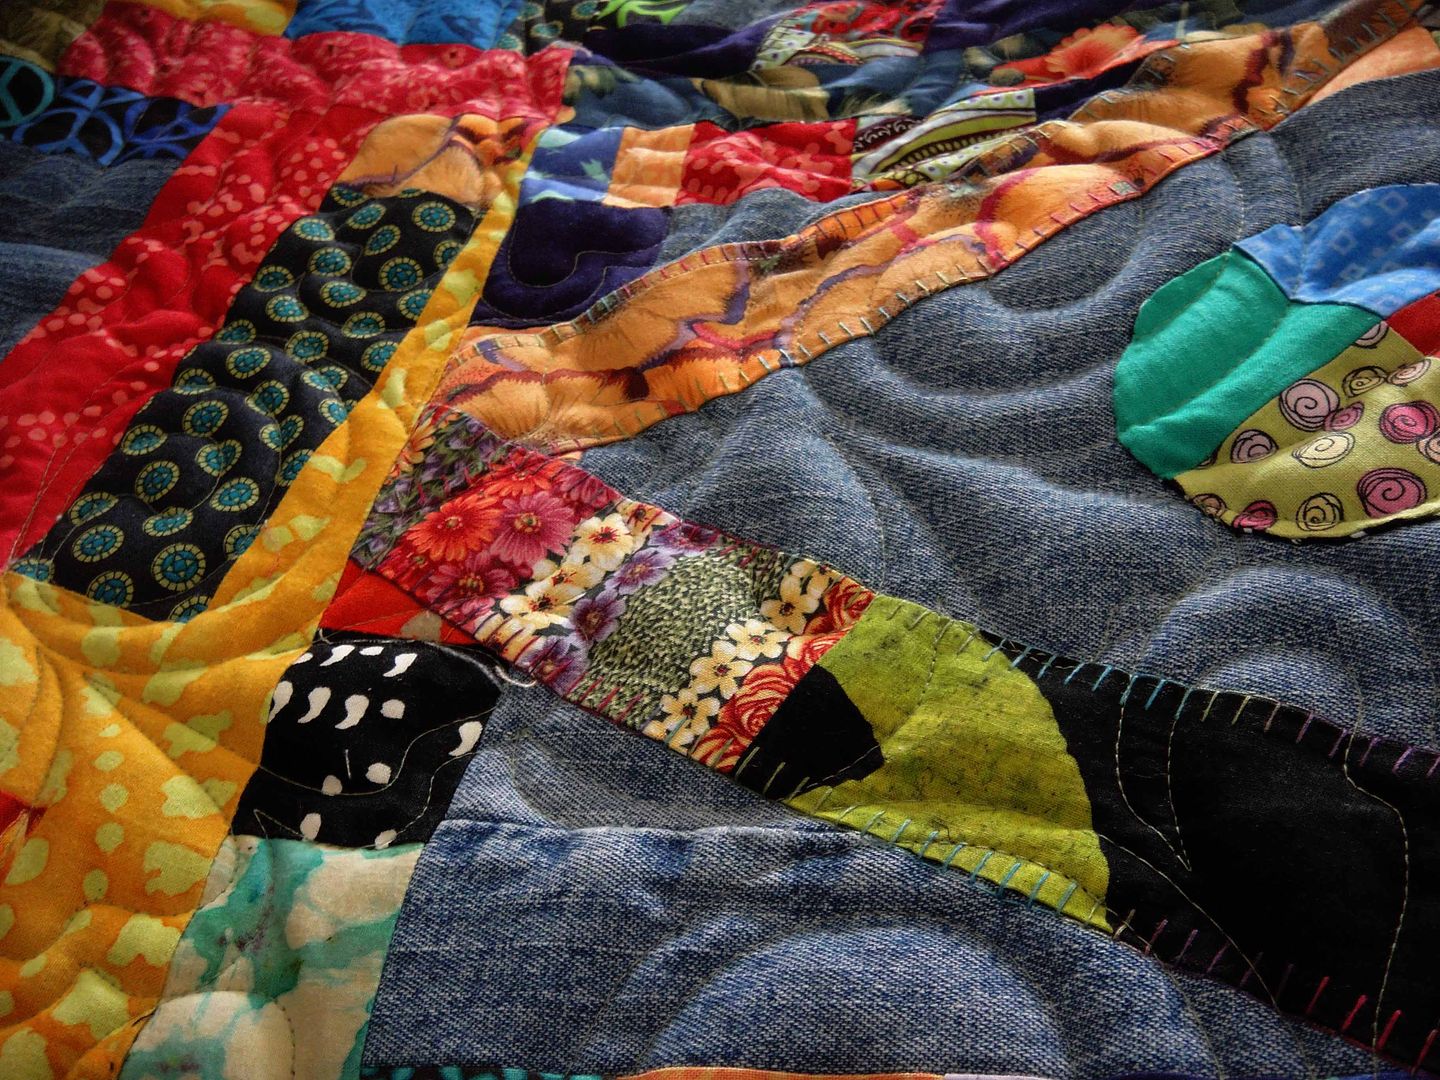
Mamma mia, the quilt got heavy using even small portions of blue jeans along with the cotton scraps, so I opted to use polyester batting (lighter weight).  The denim shows the quilting nicely.


I didn't quilt the blue jeans pocket blocks for several reasons.  1) I wanted to keep it fun so the pockets can open.  Hey, even the zipper works on the zipper block.  2) I didn't want to risk beating up my quilting machine stitching over the blue jeans heavy duty seams.  3) Not quilting the pockets made the block puffier, and it stands out from the other blocks.  

For fun, I embroidered bugs on some of the blocks: grasshopper, bee, dragonfly.


Some blocks I hand sewed fabric yo-yos and buttons.


Here's the beast, coming off of the frame--quilting finished.


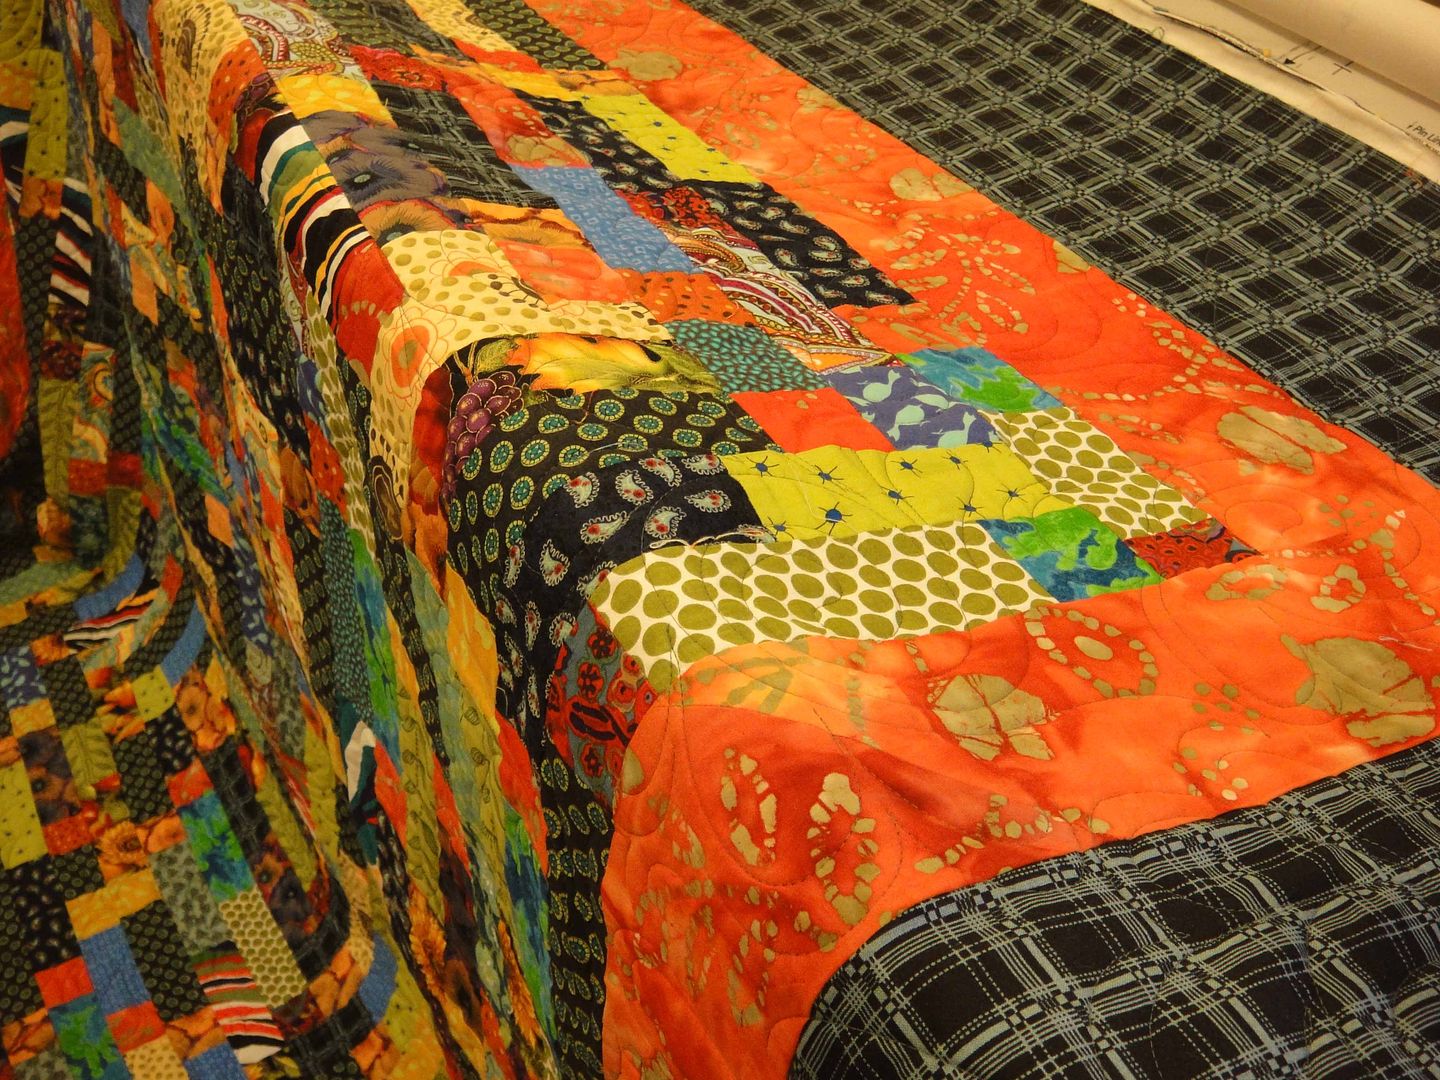
After I removed the quilt from the frame, I turned it over on the back and draped it so you could see how I make the backing wider, to make a 90 x 100 ample queen, and to accommodate the side clamp tension during the quilting process.

I like adding the swath of extra fabric--to reintroduce the colors used on the top.


Working in the studio--I am reminded one of grandpa Bert's favorite sayings, "The Early Bird Gets the Worm"


This is a great way to plow through piles of fabric scraps.  For me, it is more than using up the scraps, it's modern art
and
every block is different


****
COMING NEXT
This morning, I finished sewing another quilt top 90 x 100 Queen.  It is the arrowhead block, designed by  Anita Grossman Soloman--a class I took on Craftsy.com  


Sunday, December 7, 2014

Projects at the Old Victorian


The color is Oak Moss by Sherwin Williams.  

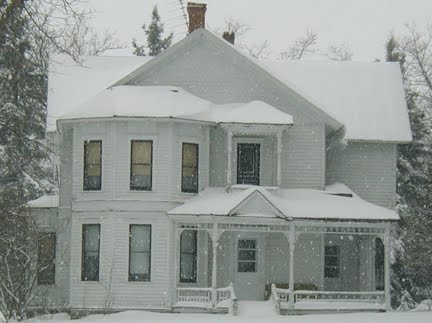
Last June we started scraping, priming, and repainting the house.  We painted until October, until the weather forced us to quit.  However, between all the summer rain we managed to finished most of the exterior.  

Next spring we'll finish painting the remaining high gable soffets the soft vanilla ice cream color.   And, I'll start scraping the old barn.  

I've been saying for the last three years that I'll be scraping the barn next spring--but other projects always seem to come up and we have to adjust our "to-do list."  

Here are some of the things I'm doing in the studio recently:

Today I'm working on a blue jean quilt.

Detail

Jon finally cleaned out his clothes closet and I drug a 32 gallon black plastic bag of his blue jeans up to my studio (just before our Halloween open house).  

For fun, I dug out a pair of jeans, thinking I'd try my hand at making a blue jeans purse, bag, or whatever . . . 


While chopping up the pair of blue jeans, I decided to do a crazy quilt with the blue jeans and put to good use the mounds of fabric scraps I accumulated this year.  The blocks are 12.5" sq.


I'm using the back pockets too!

Detail

In the evening, while watching TV--I like to hand sew fabric yo-yos.


I might even hoop up some of the blocks and embroider some bugs in the denim areas.

You'll have to stay tuned to see where this quilt goes.
Detail 


I just love scrappy quilts.

Blue jean quilt blocks so far
***

Here's Scrappy Quilt #2 
I quilted it with warm and natural 100% cotton batting.  The top is sewn from a variety of cotton fabric scrap strips.  It is queen size, 90 x 100.


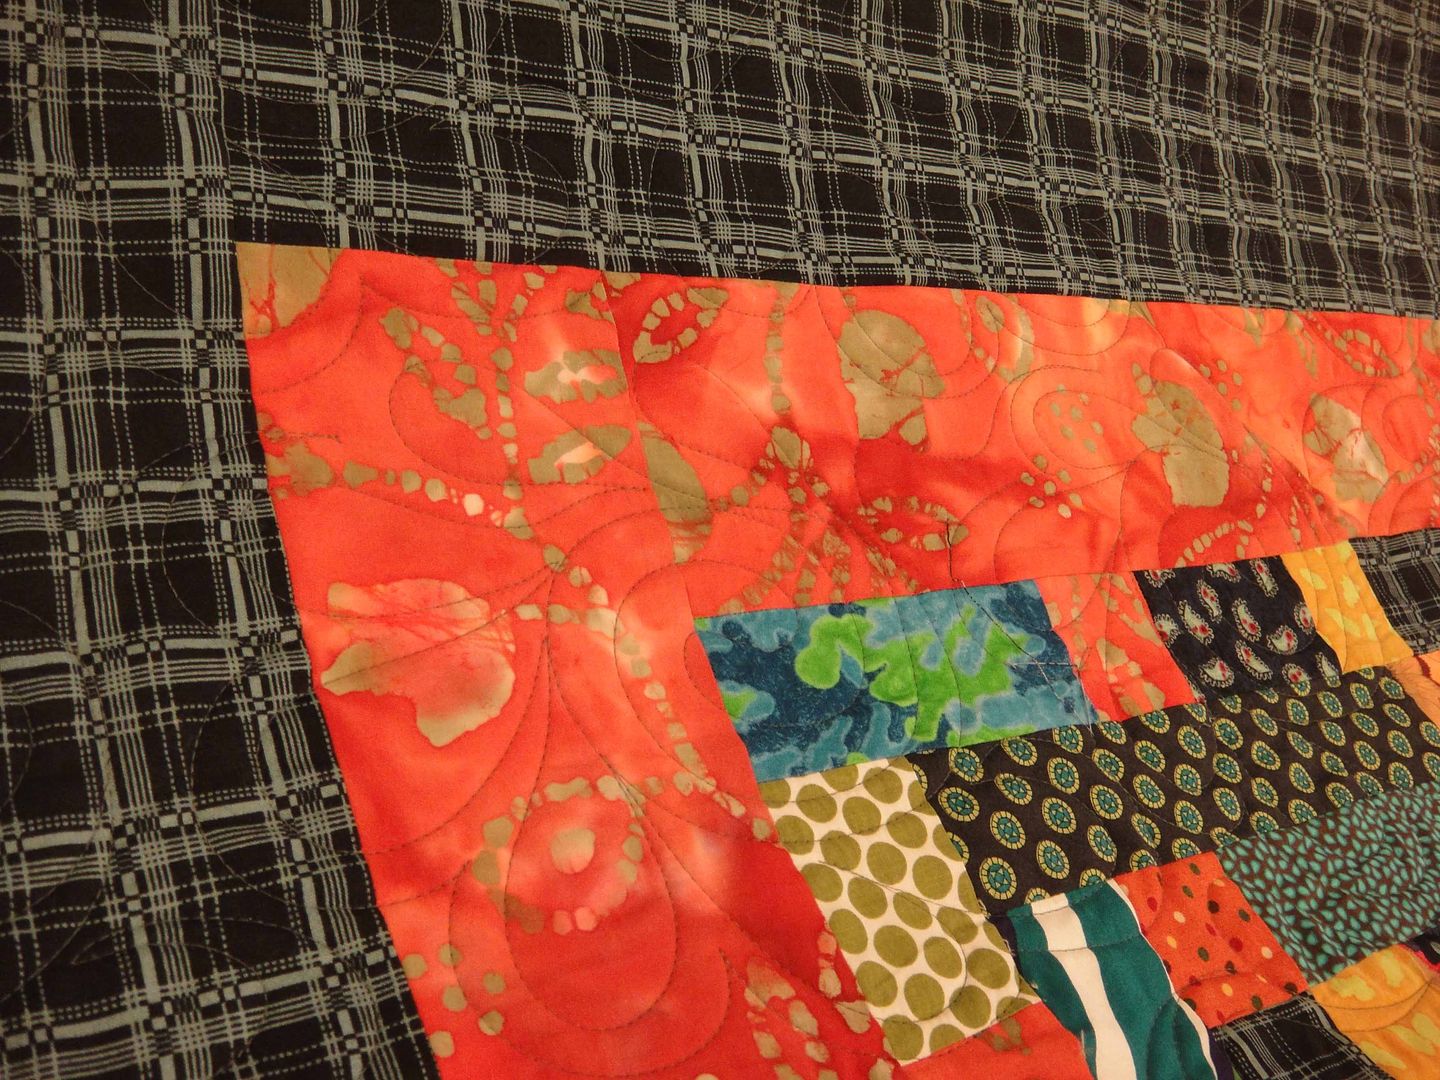
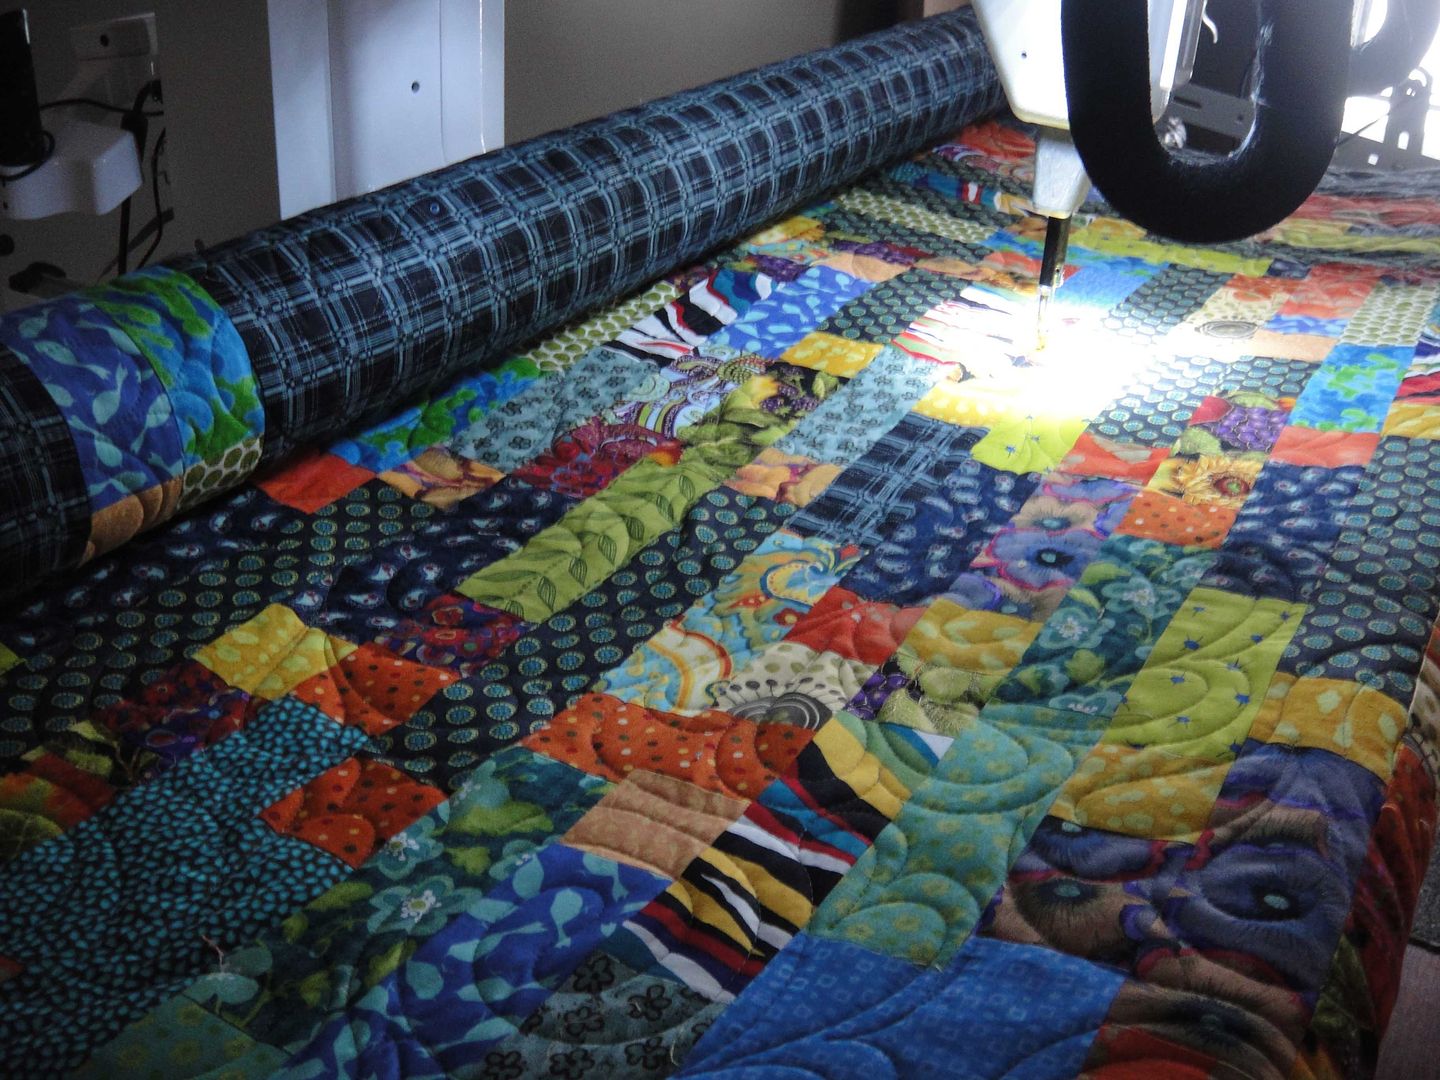
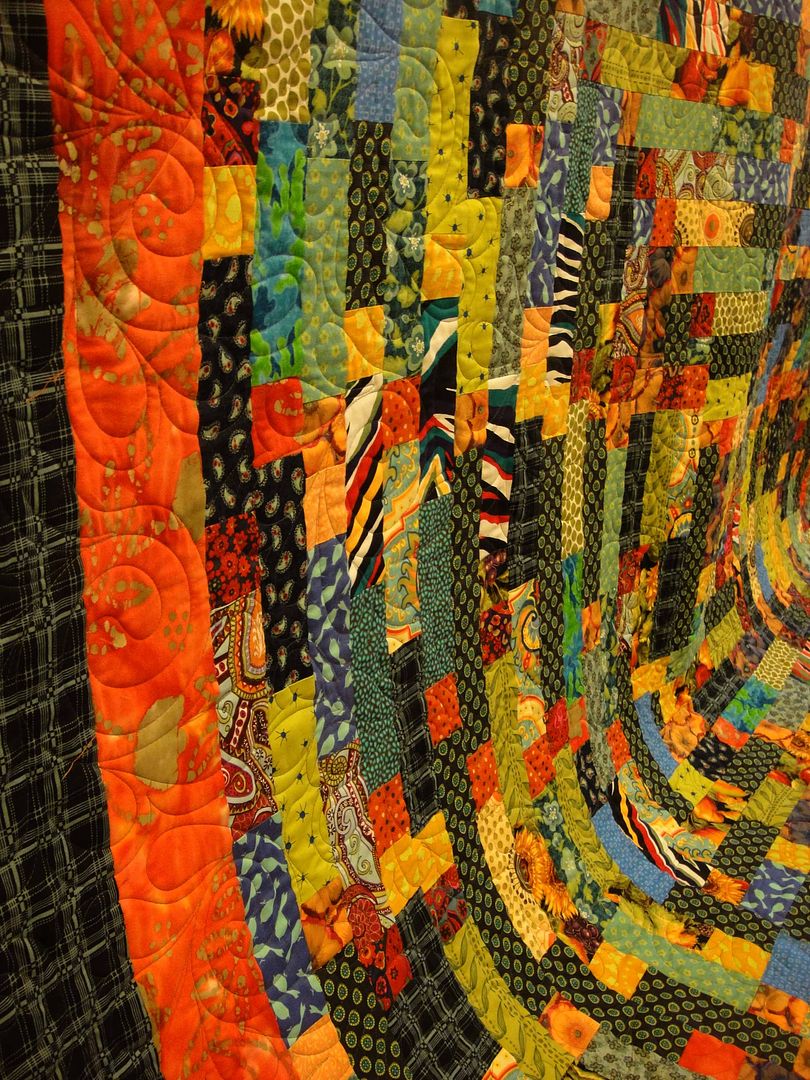
If you look closely you can see the long arm quilting stitch pattern.  My signature free-style design, "Squirrel Feathers."

I turned off the lights, and did some photographs so you could see the quilting stitches.


Below are photos of removing the finished quilt off of the frame.

It took 6 hours to finish the quilt after removing it from the frame.
I trimmed away the excess backing and batting.
Squared the quilt.
Made the binding fabric strips, installed the binding,
turned and hand stitched the binding. 

Did you know, it takes 17 yards of fabric to make one queen size quilt?


Look at the top rail--see the backing rolled up--see the two scrappy strips added?  

I made the quilt backing 98" wide by adding two scrappy strips.  I did this on purpose.  The strips add interest to the backing, and . . . 

having  4" of extra backing fabric on the top, bottom, and sides, is required to quilt the quilt on a frame.  

While long arm quilting, the left and right hand margins of extra batting and backing fabrics give me a place to attach machine side clamps.  The tension of the side clamps keeps all three layers straight and smooth.