Pages

Saturday, September 15, 2012

Is it too early for Halloween fun?

Jon came up with a great Halloween costume idea for our two little Jack Russell dogs . . . Fred and Rainie.   He asked me to sew polar fleece wrappers (jackets, with velcro closures) for the dogs.

First, I bought a bag of Tootsie Rolls.  Dog Gone if I could remember what a Tootsie Roll wrapper looked like.  By the way, I highly recommend eating Tootsie Rolls while sewing. 

Here are some photos showing the construction:

I hooped four 12" squares of chocolate colored Kona cotton on the embroidery machine and programmed a suitable font. The rest of the jacket wraps were constructed from chocolate, white, and orange-red polar fleece.

I took this photo while embroidering the 4th chocolate square. 


Sewing applique sign onto the body of the wrap.

Detail of sewing on applique


Finished wrap
Dog gone--they turned out cute. 

Tuesday, September 4, 2012

Tent Bag - Making Bags to Get Organized

We bought a new 12' by 12' tent this summer. The whole thing came in a big canvas bag.  The folded metal frame portion of the tent fit nicely inside the canvas bag, but the canopy--I couldn't figure out how to compress it enough to fit back into the original canvas bag.

So . . . I decided to make a separate bag to store the canopy. 

I cut out the pieces to construct the bag.  Then I machined embroidered TENT BAG. 
I thought--might as well label the dang thing.

The striped duck cloth reminds me of pillow ticking--only in a drab olive color.  I bought a 5 yard remnant (52" width).  Thought it would make lining for many totes. It sure worked out well for the canopy bag.
In the photo above, I pulled away the sides to be able to show the inserted silver color tent canopy, and to show useful center ties.  The center ties keep everything snug when storing or carrying it.

I liked the utility bag so much that I made traveling tote.  Here's one with a fun front pocket featuring an articulated bunny.  I called it Run Bunny, Run.   

I'm selling this tote for $40 - Contact me if you'd like to acquire it.
SOLD

Back side of the tote has a double pocket and special message.


There he goes . . .


See bunny's legs move - he's running away.

I machine embroidered the articulated bunny.  I stitch the bunny a special heavy duty stabilizer rather than cloth.  Once finished, the stabilizer pulls away from the design, resulting in a free-standing lace.

Oh, but there's more - another travel tote with a bunny. 
Double front pockets and a key fob.  The lining and center ties made from a small pebble theme printed cotton.  The exterior fabric is durable, yet soft and washable with a damp cloth.


To give you an idea of the size--it put 4 double rolls of paper towels inside to take this photograph. 
This great travel tote is $40.  Let me know if you'd like this one.  It would make a great gift.

Center ties are great to keep contents secure--especially if you fill it to the brim. 
Detail of the free-standing lace carrot. 

Detail of Mr. Bunny running after the carrot. 


Friday, August 31, 2012

Balcony Railing Installed


And so it goes . . . husband Jon rides up the south end of the building to install the black enameled balcony railing of galvanized steel, hand-crafted by our friend Steve Stichman. 

Wow Steve, what a beautiful railing you made.  I love it!

Jon rides the articulated lift with the new railing attached to the basket's birdie feet. 


Jon lifts the railing assembly off of the lift and puts it into position on the balcony.


Here is Jon fitting the railing to the balcony. 
Next, he'll drill holes in the railing to bolt it permanently to the spiral stairs hand rail.   


Jon says, "if you want to help, get rid of that camera and take this.  Hurry up."

Then, his phone rings. 


After a bit of shimming to level, Jon makes a tick mark at level and begins drilling the holes for the bolts.

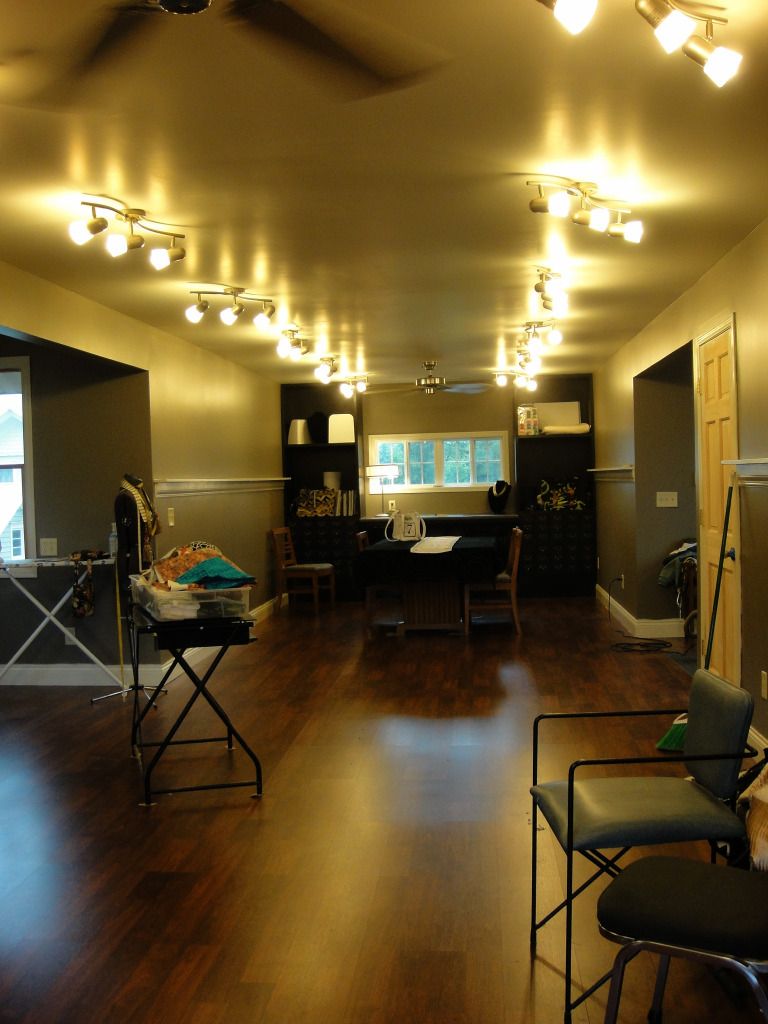
I get out of his way, and turn to go back inside the studio.  Here is the view looking north.  You can see my layout/cutting table.  I've been sewing some projects.  Let me show you the table runner I made.


I made a table runner, and a wine tote.  Both items are for sale at my Etsy shop, "Mill Street Handbags"


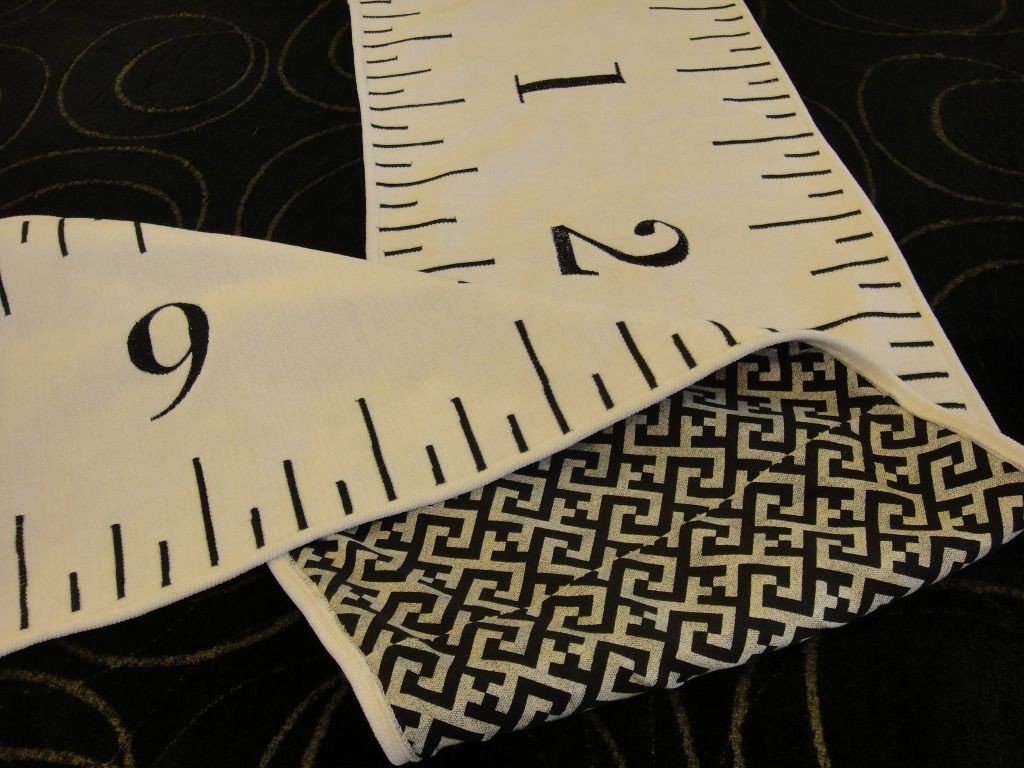
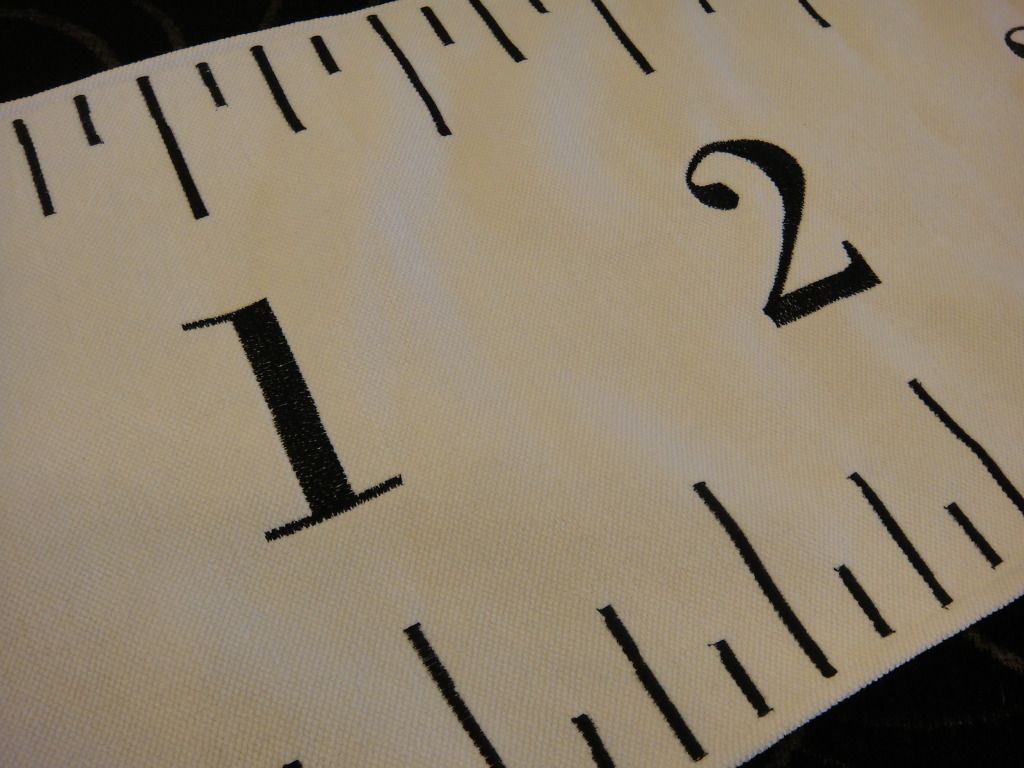
This table runner is my version of a canvas cloth/painted table runner that appeared as a DYI project in Country Living Magazine.

I didn't care for the magazine instructions to "paint" each number, and thought I could do a better job using black embroidery thread, my general purpose sewing machine to satin stitch the ruler marks, and then very accurately hooping the runner on my embroidery machine hoop to crisply define each number.

The table runner project took me a couple days from start to finish. 

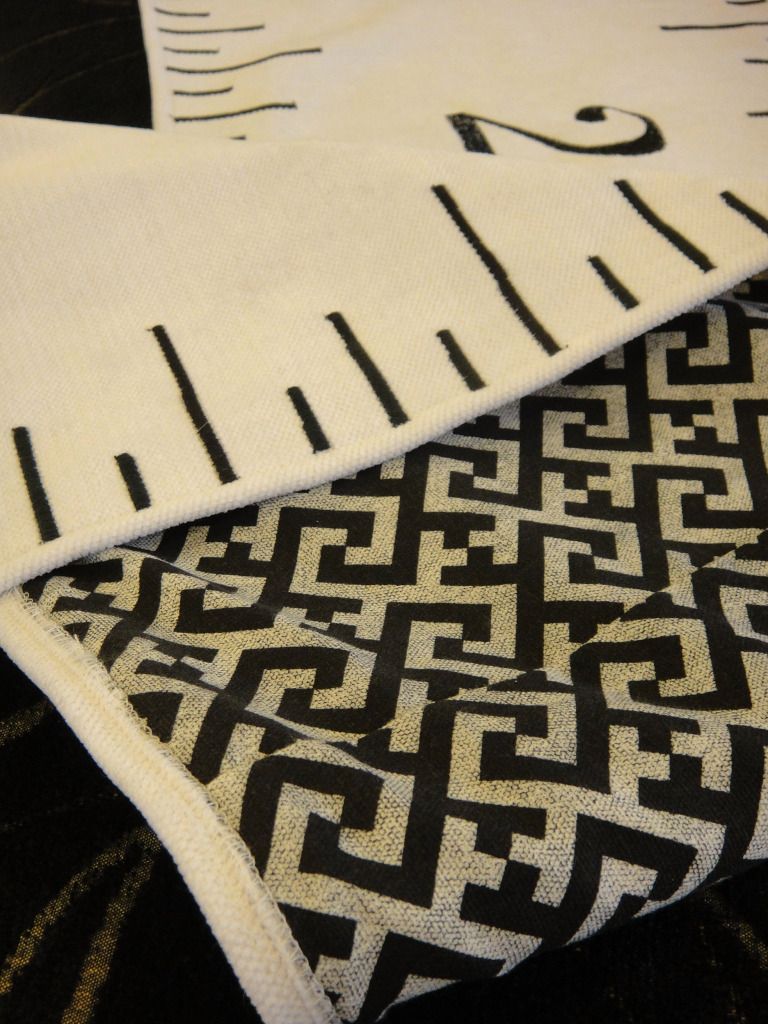
Here are some detail photos showing the quality finish front and back.

The finished table runner is 63" by 13"

Detail of numbers


And . . .

I made a matching wine tote--also for sale at my Etsy shop, "Mill Street Handbags"


Looking inside the bag--is a wild black/white cotton print fabric.  There are two padded bottomless pockets inside, each big enough to hold a bottle of wine.  In the photo I stuff the pockets with 2 water bottles.  This tote would make a great birthday gift. 

Sunday, August 12, 2012

We Got Stairs!

We Got Stairs!  Happy, happy.

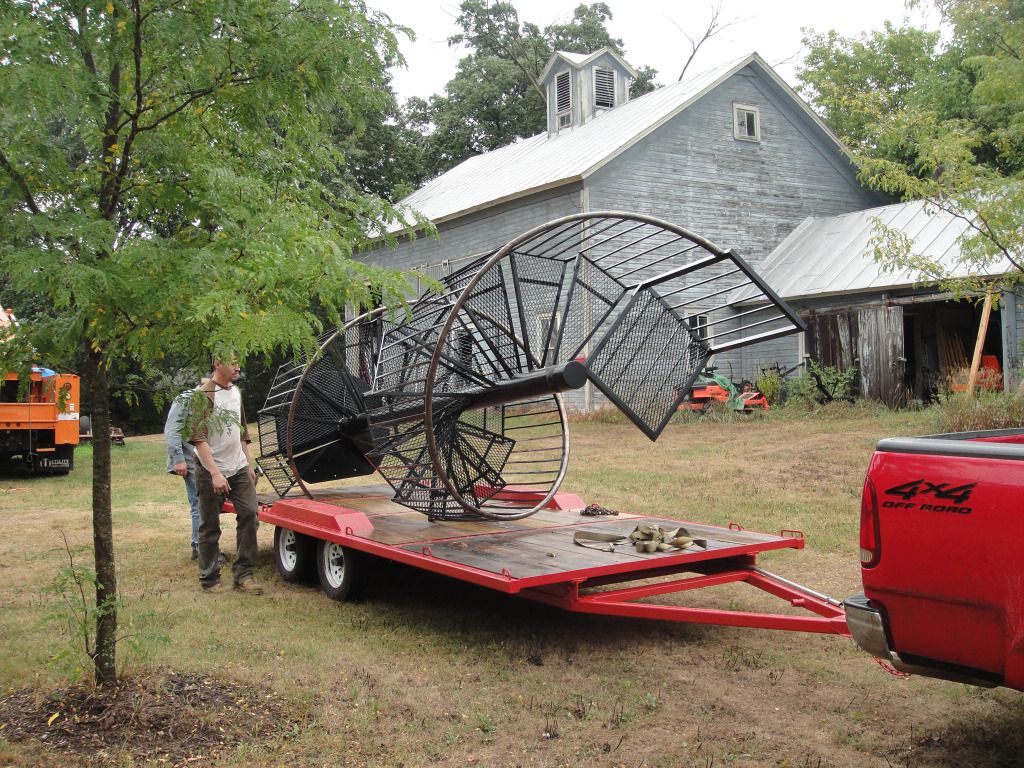
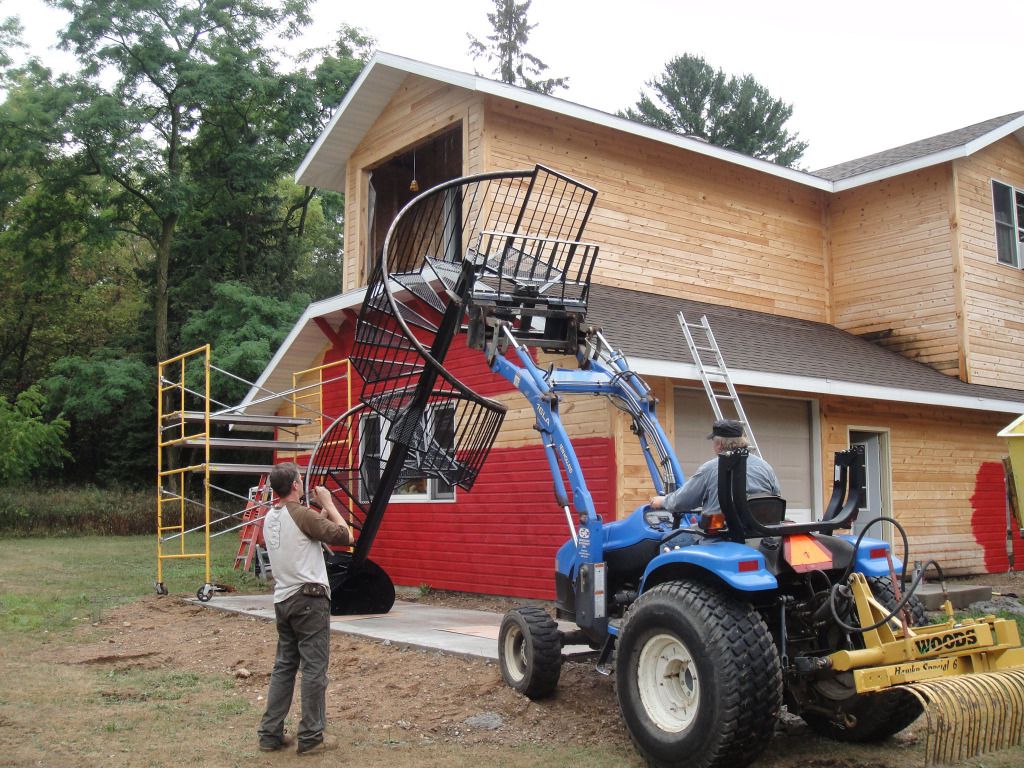
Last Thursday evening, Jake pulled up with the finished, painted spiral staircase for the upstairs art studio.  Removing the straps, Jake installs double link of chains, and Jon positions tractor forks into the chain loop.  Ready to lift!


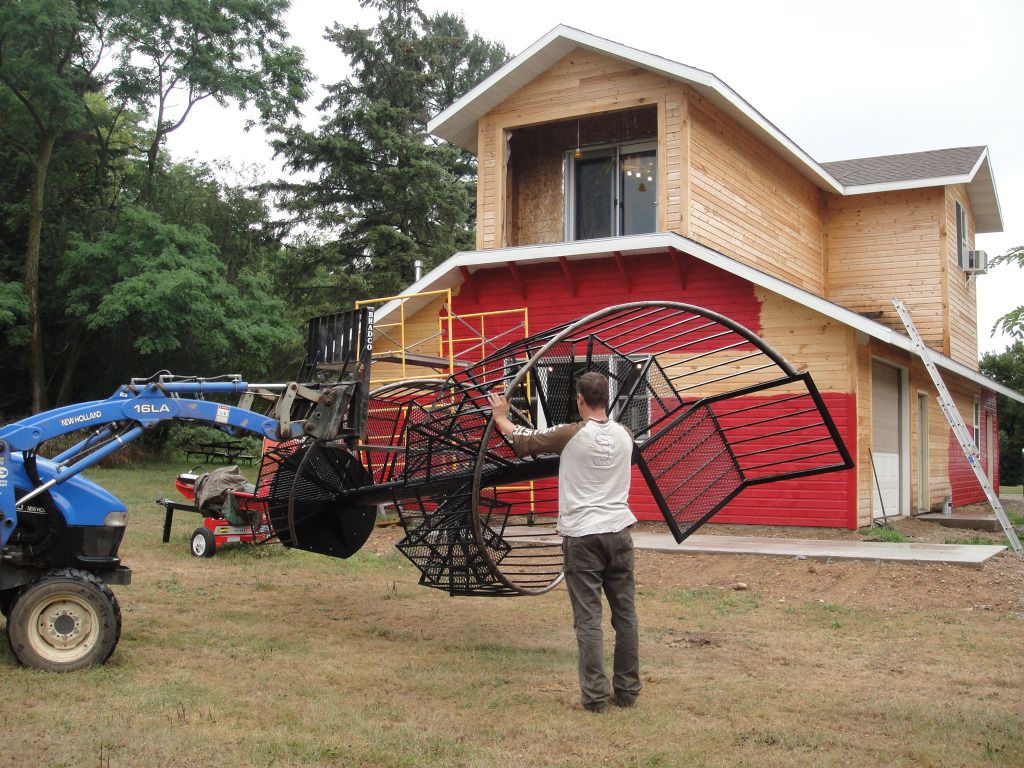
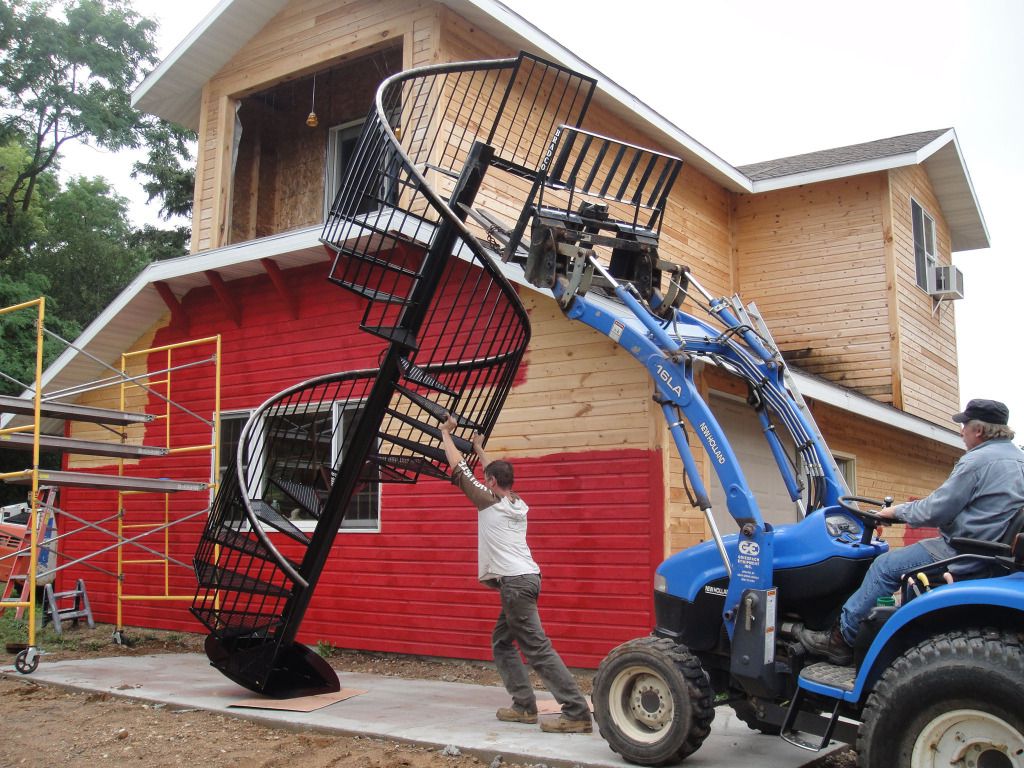
Jon lifts the half ton staircase, and Jake helps steady the top of the stairs.


For the moment, the staircase is laid down on the cement pad. 

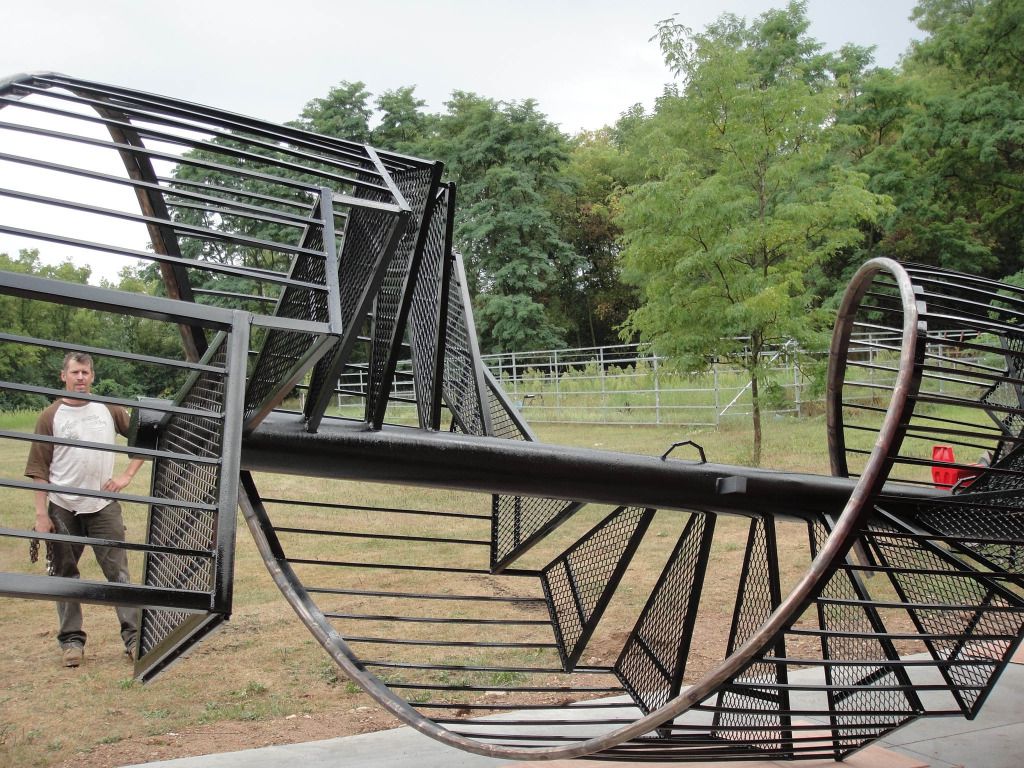
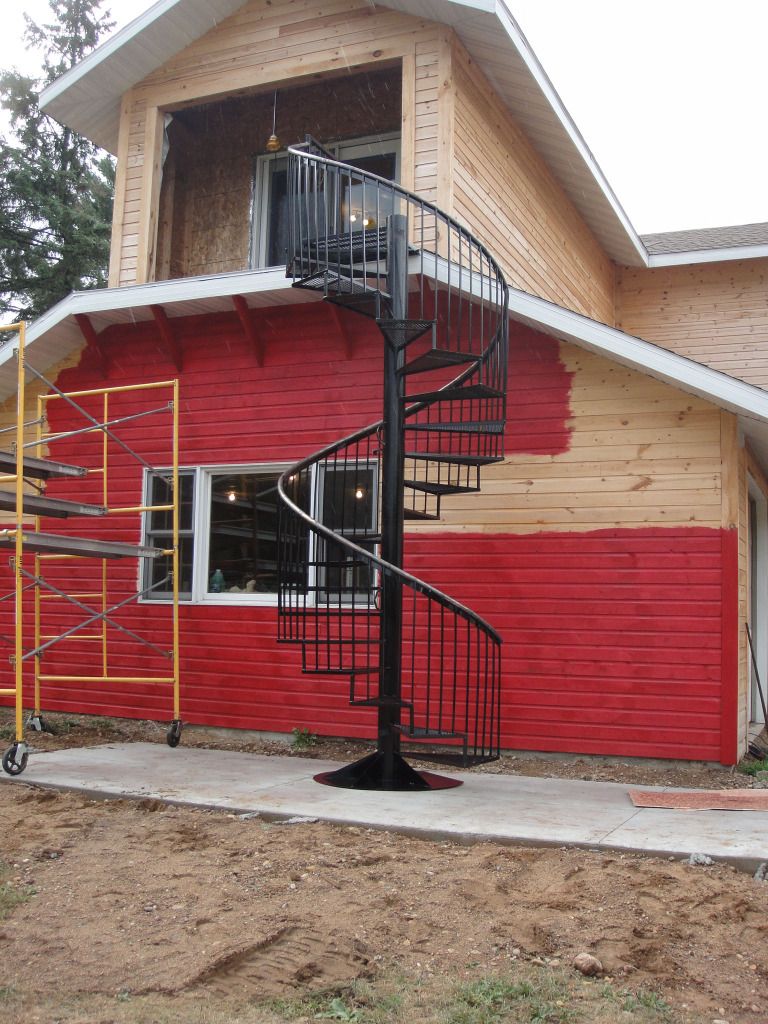
Trying to stay out of their way, I run around to the east side of the building to get a good photo of the custom made stairs.  The railing is stainless steel, and Jake chose not to paint it, but heat it--making its patina a rainbow of colors.  I really like the looks of it--like a giant piece of art work.

Jake uses hand signals to guide Jon with the forks to set the spiral stairs upright.  Notice part of the base of the stairs is not circular, but has a flat side.  The guys really understood how to inch it up.  The forks go up, the tractor rolls forward.  Pause . . then once again the forks go up, and the tractor rolls forward again. 

The moment of truth, the last time the tractor moved forward, and astonishingly Jake sets the stairs in place.  I honestly did not breath between this photo and the next photo.

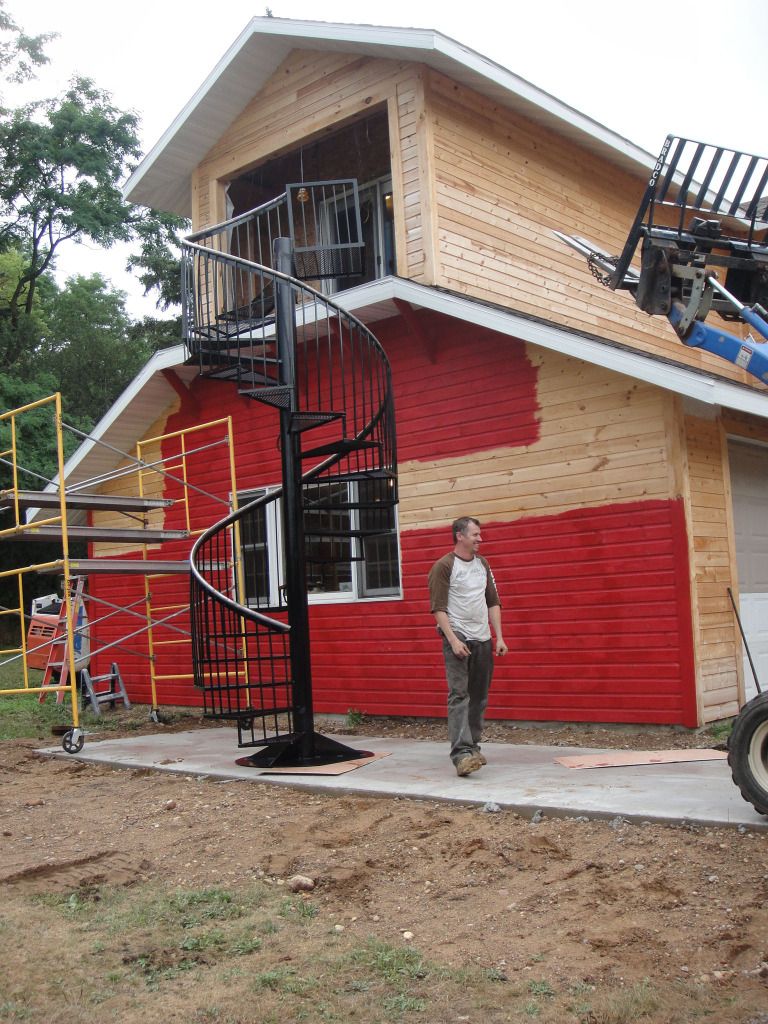
And, we have touch down, but not without one disturbing wobble as the tractor moves away, and Jake has the last minute control of the beast.  Man vs. beast.  Man won.  Yeahhhhhhh!

And Jake and Jon win!  The team takes the gold.  The boys were happy! 
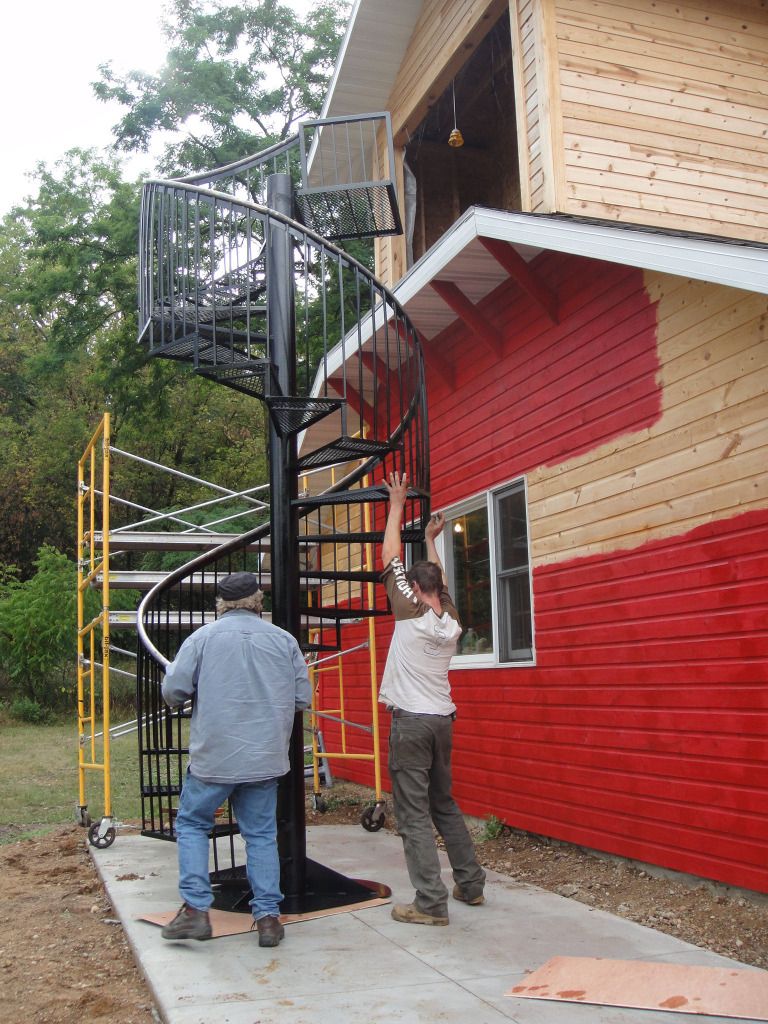
Now the Jon and Jake shimmy the stairs into position.  Just man power twisting and tugging to pull the  platform into position to meet the building.  The fit of the platform to the building is absolutely perfect.  Wonderful job Jake. 

Here's the catwalk platform at the top of the stairs making a perfect connection to the building.  Bravo!

Here's the balcony floor, leading to the stairs.

Looking down, I asked the boys if I could descend the stair case even though it is not bolted to the building yet.  I got confirmation and quickly took the 20 steps down to the cement pad.  I am so happy. 
It's been so dry, so hot.  100 degree days as I tried to get a primer coat of red paint on the garage/workshop/art studio.  I have the entire first level primed except for this area in the back.  Front and west sides have second coat (finish coat) already.  

I fell this morning off a 8 ft. ladder while finishing prime coat on east side of building/lower level. 

Uhhhh, I just got new bi-focals, and missed the last two steps. 

While descending the ladder--in my sight line for some reason I thought my next step was touching the ground. Wrong! I landed on the side of my left foot--slamming to the ground-- jolting my lower back, losing my balance and crumbling to the ground.  Tore my shirt, skinned my elbow, and sat down in the gravel and howled silently for a minute or two.  

I got back on the ladder and started painting again.  Got to get this building painted.  I figure I can make quite a bit of headway in September and October on the second level--if the bucket truck is working.  I have to wait on repair of the bucket truck--a hydraulic problem that Jon is working on right now. 

Let's see, will it be ibuprophen tonight, or vodka/orange juice?  Probably ibuprophen.

I never run out of work.  When the snow flies, I'll be back upstairs in the stairwell scaffold making crack repairs in the old walls.  I'll follow the stairs down and into the foyer.  The walls of the long hallway upstairs are repaired, two skim coats of joint compound, lots of sandings, and ready for primer and paint this winter.

The foyer wall repair is next on the list.  Foyer is 12 x 12, with 11 ft. ceiling.  I'm thinking about doing a wall mural in the foyer; perhaps blue herons.  I'll make some drawings and do some studying on it this winter.   

Other winter work - build 12 student easels for the studio.  Ok.  I can do this. 

Everyday--you gotta have a plan, right?