

I'm going to rattle on a bit this morning, telling you about some projects we're working on.
I'm sewing purses, and sold quite a few.

Here are a couple new designs . . . I'll tell you about,
But first--here's what Jon's been doing.
Jon is harvesting dead trees we'll use to heat our old Victorian house.
In two days, he felled 5 Elm and Locust trees on the west side of the yard--all were dead due to disease. In fact they've been dead for a number of years. Our concern is to take down the trees before they harm the neighbor's house and yard.
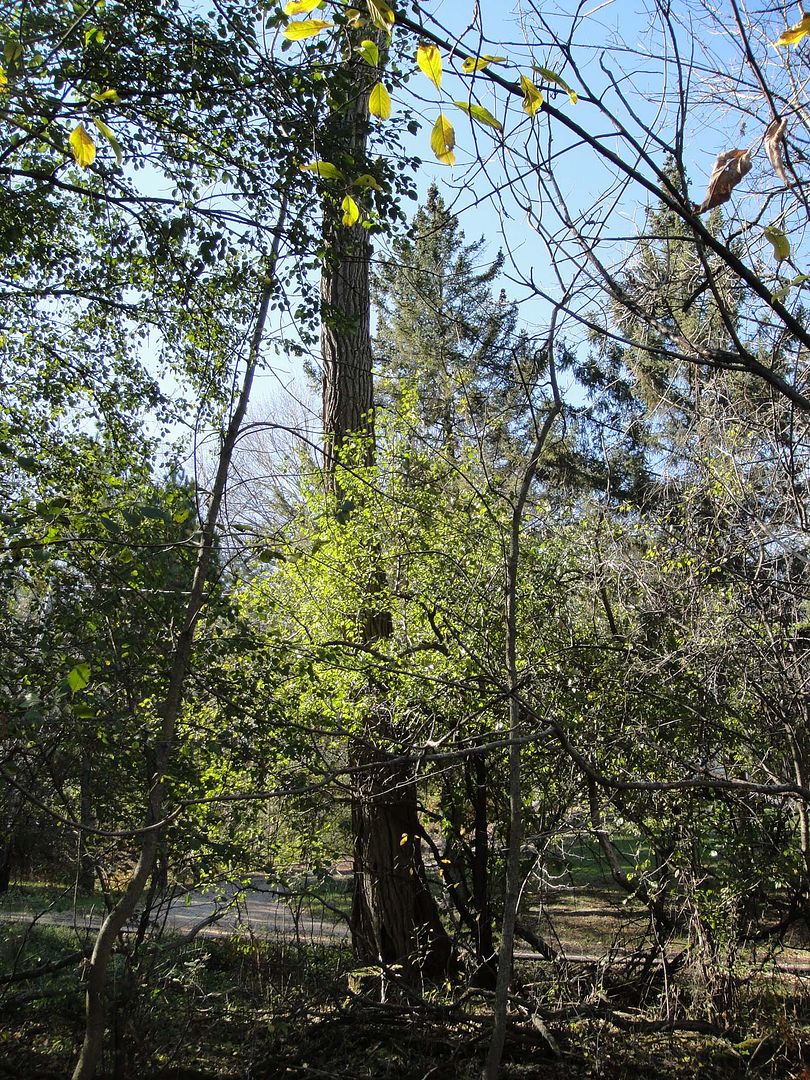
Photo of the base of the big tree Jon felled.
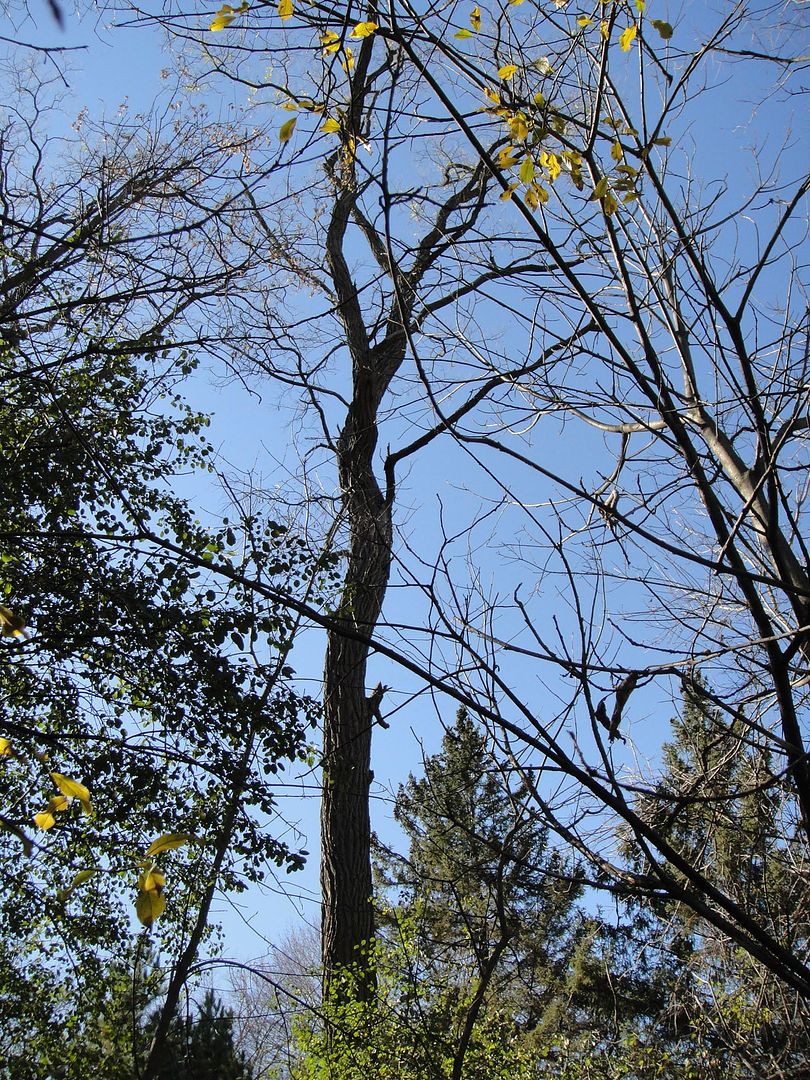
I photographed the 80 ft. tree prior to cutting it down. Jon was shocked to find quite a bit of the tree interior hollow. Good call on his part to take it down.

Can you see Jon in the middle of the photograph?
I drew a red line from the right to the left showing the direction of the huge tree where it fell.
Jon put it down right where he wanted it.
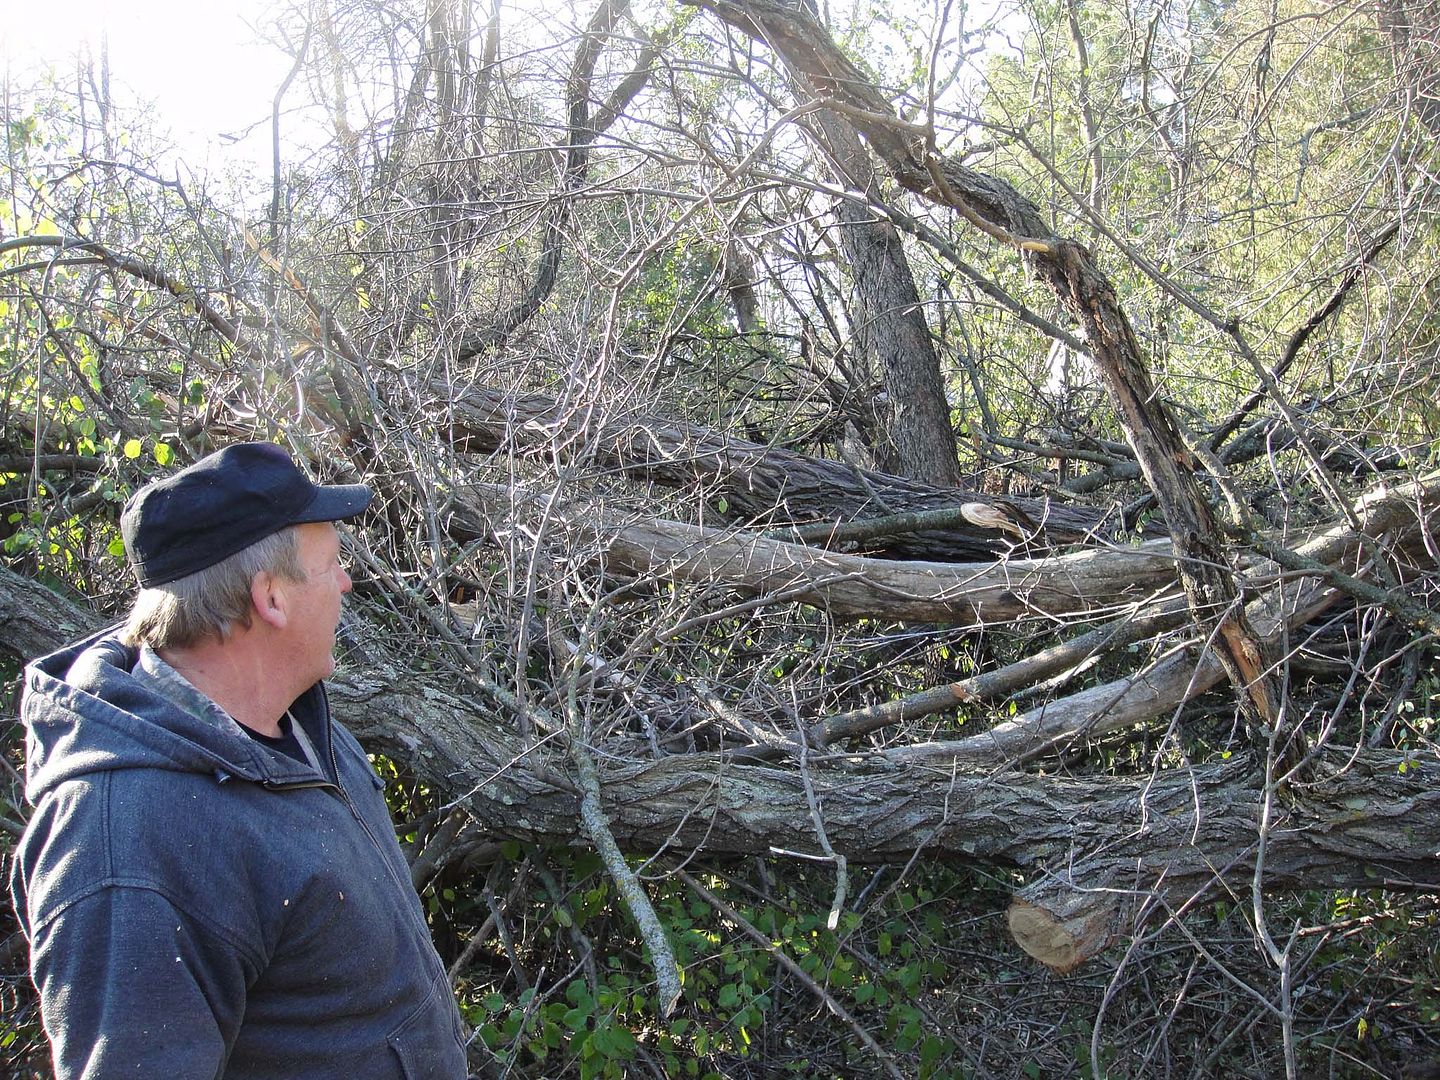
Jon stops to review where he'll start cutting chunks to haul to the wood splitter.


Above photo: almost hidden from view, Jon is driving a bucket load of chunked tree trunk from the fall site across the yard to the area where he'll split the chunks into quarters. I'll have to get out there and take some photos of Jon splitting the wood.
Jon has a splitter fixture for the skidster that grabs the chunk and splits it in half. It's neat the way it works and looks like fun to operate--if you like playing with big toys. He's working hard out there--felling trees, cutting them up, hauling away the chunks, splitting the wood to heat our old Victorian. He loves this kind of work, but it sure makes his body ache later on.

Our yard and house sat silent for more than 3 decades before we bought it. The house required lots of restoration. Just the same house its always been--but repaired and refreshed. You can see from this photo of the west yard--that some trees need to go because they're already dead. The clean up will bring in great warming light to the shady north side.
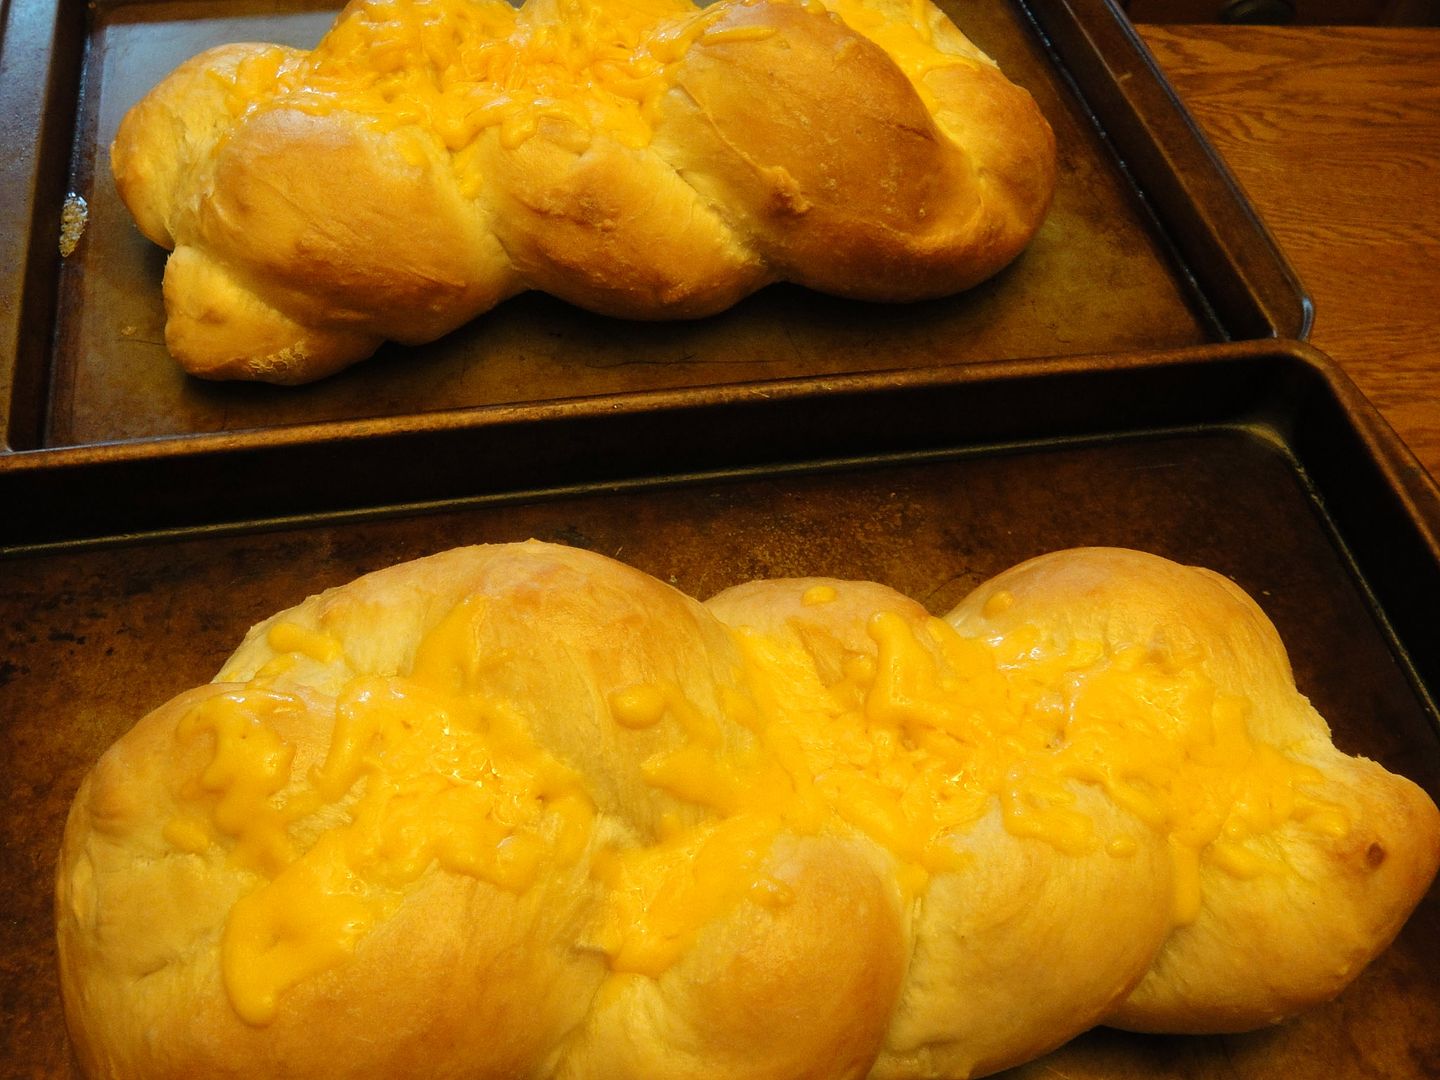
While Jon was sawing, I was baking. A couple loaves of cheddar bread, and a lemon meringe pie.

Hey, before you go . . . I want to show you construction phases and highlights of purses I designed.
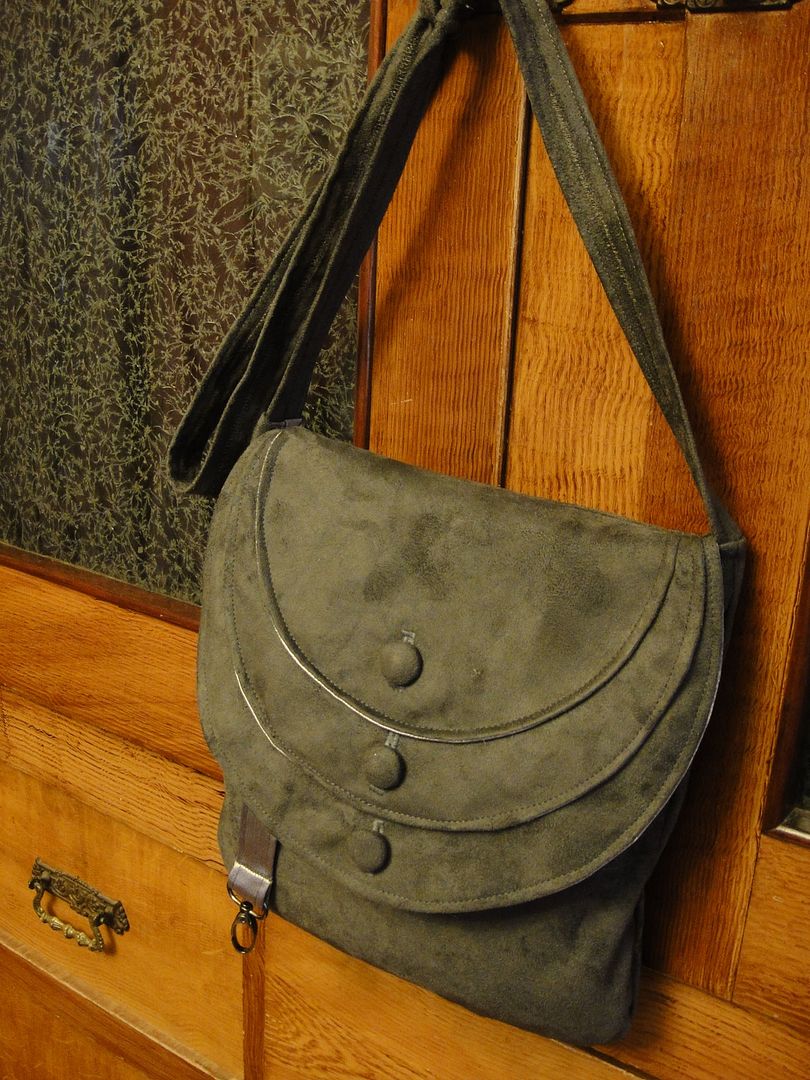
The 3 button charcoal micro suede purse I drafted flaps beginning with a small paper plate. Each round I added a bit more to the diameter.
Finished with silver satin interior with pockets and key fob, this one sold immediately, so I decided to try something different in a dark plum microsuede.

Both flaps decorated with wool penny medallions hide snaps, revealing secret compartments for folded money or cards.

Purse Sold Yesterday
Below is a photograph of the interior. To show the interior, I turned the purse inside out.

Both walls of the interior have printed cotton pockets. Plum soft batik cotton for the liner and accents for carrying straps. Two sets of magnetic snaps (interior lining and exterior flap closure). Signature key fob.
I'm finished constructing a navy microsuede purse.
Here are the interior parts--so you can see that construction.


I stuffed a card inside each pocket so you can see the pocket openings.
But it didn't show up well, so I marked up the photo in red
to illustrate further.
The lower shallow pocket opens toward the side seam, meaning this will be a hidden pocket inside the purse. The purse owner will be reminded of the location of the hidden pocket
by feeling for the little spider charm sewn in place.
Inside the hidden pocket is . . .

a little hidden pouch to put folded money or cards.
The pouch and inside the pocket has a bit of velcro sewn to hold it secure.
I finished another purse in walnut brown, but it sold right away and I didn't get it photographed. It had a splendid double padded, double pouch, zippered pocket--the perfect size to carry a kindle.
Working with a few more designs--this time I'll use red pleather, and I have some sumptuous taffeta in gun metal blue. Do you remember this fabric?

I made drapes for the north bedroom upstairs.
My rule of thumb before I decorate a room I find drapery fabric first--then wall color--then bedding.
When all else fails I can pair drapes and wall color with ivory crocheted bedspread.
I might even re-create the cinnamon bun tiebacks as a decorative feature using the same drapery material for the purse. I confess, I made valances for the three windows in the north bedroom, but decided not to use them--as I didn't want to cover up the beautiful spoon carved wood blocks. So I think I'll deconstruct the valances and make something useful--like purses or pillow shams.

Here are two of the three windows in the north bedroom.
Ah, but the sun lit windows seem to wash out the color of the drapes and wall.
I really wanted to show you the great crocheted bedspread against these dark gray/blue walls. Let me look for another photo. Just a minute.

Yes, there we go.

And, depending upon the time of day or lighting--the northbedroom walls and drapes look either more blue, or more gray.
Well, I've taken enough of your time with photos and talk this morning.
I wish you all happiness in everything you do today.


