Pages

Monday, October 22, 2012

Inspired by the16th Century Ruff - A Ruffle Tutorial

Here's a purse I just finished sewing--I call it "The Ruff."
I could have called it the Ruffnerian--but my friend Mark would have collared me.

Speaking of collars . . .

INSPIRATION:
The decorative purse ruffle reminds me of  a mid-16th century collar.
Here's a portrait of Elizabeth I wearing a ruff collar.
*
Detail of Darnley Portrait of Elizabeth I, c. 1575

I have some photos to share with you how I made a ruffle for the purse.
BEST: to use knit fabrics that do not fray. 

Cut lots and lots of 2" squares. 
Cut the squares using pinking shears.
I used a rotary cutter fitted with a pinking blade and the cutting went really fast. 

Please use extreme caution when using the pinking blade rotary cutter. 

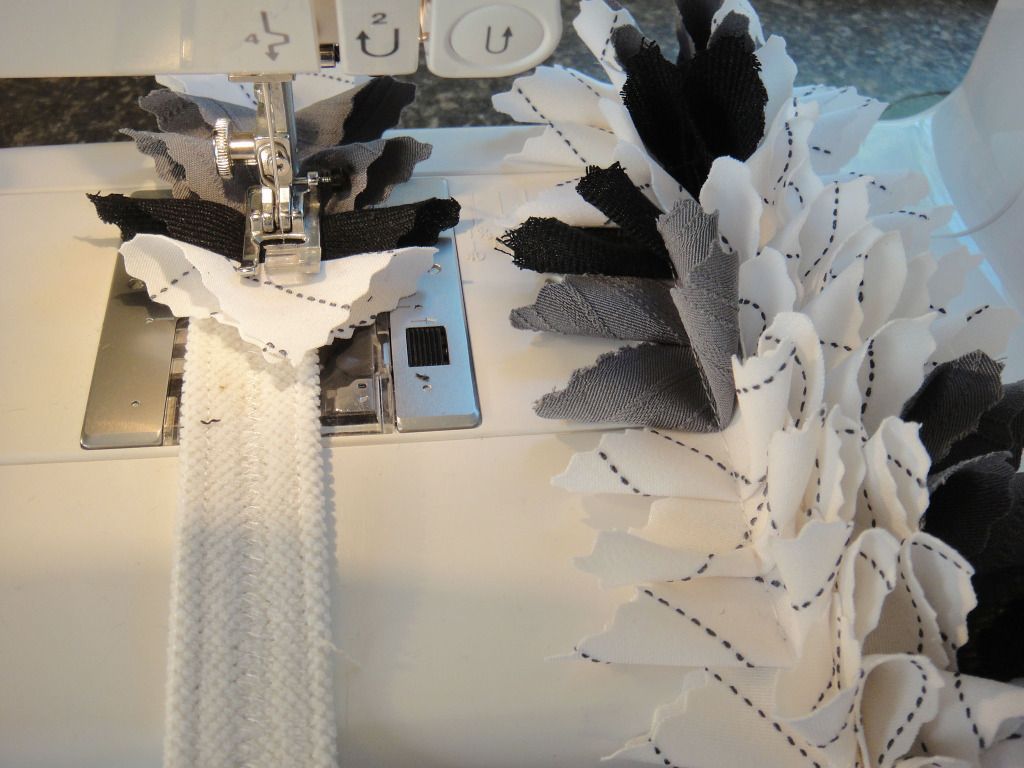
I began by making a foundation fabric strap. 
On the strap I sewed 3 lines.
The sew lines are guidelines

Fold a 2" square into a triangle shape.
Place triangle on one of the sewing lines.
Take 2-3 stitches and stop

Place next triangle in front of the pressure foot.
Stitch through the first triangle,
and 2-3 stitches into the second triangle, then stop.
 
Stitch through second triangle,
and 2-3 stitches into the third triangle, then stop

Continue folding 2" squares into triangles,
placing one triangle in front of the other.

Start sewing another row of triangles,
on the middle sewing line.

As you add triangles to the middle sewing line,
fold over the triangles from the 1st sewing line
to make room to lay down fabric triangles.

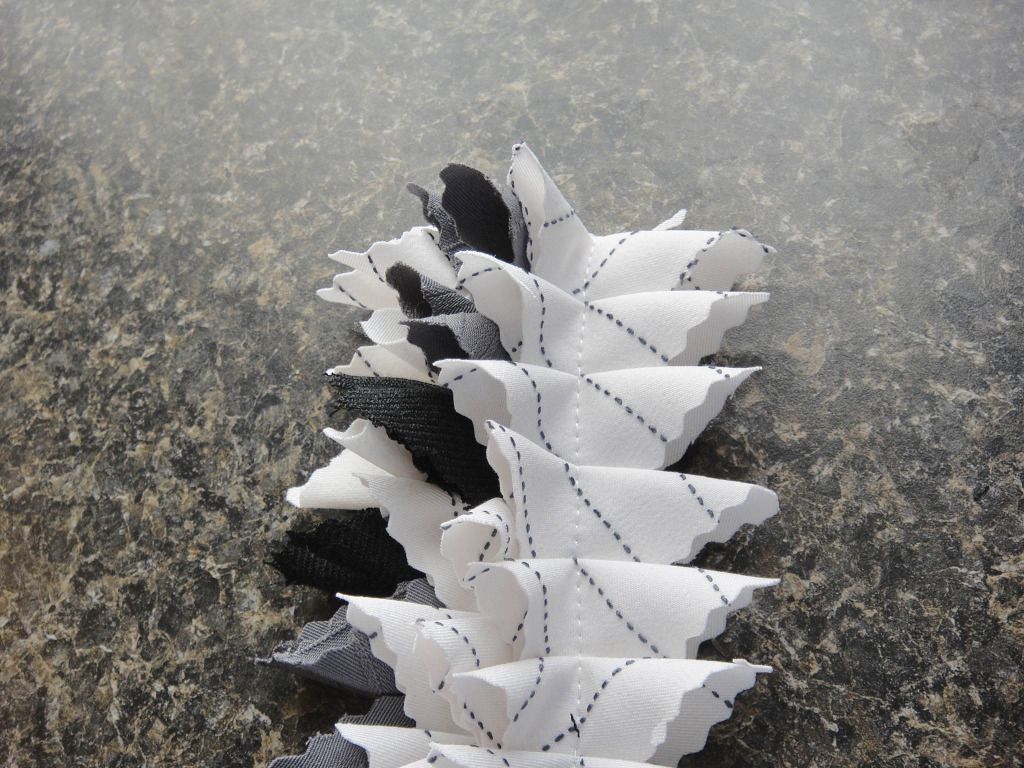
The finished ruffle pictured here (right) has 3 rows of triangles.
creating a nice looking ruffle.
I hand sewed the ruffle to the purse exterior.
But if you make the strap wider to begin with
 you can successfully machine sew the ruffle to the purse during construction.
I hand-pressed the sewing line open, so you can see the construction.
It fluffs up quite nice - could be fun trim for a winter hat. 
Have fun making the ruffle!
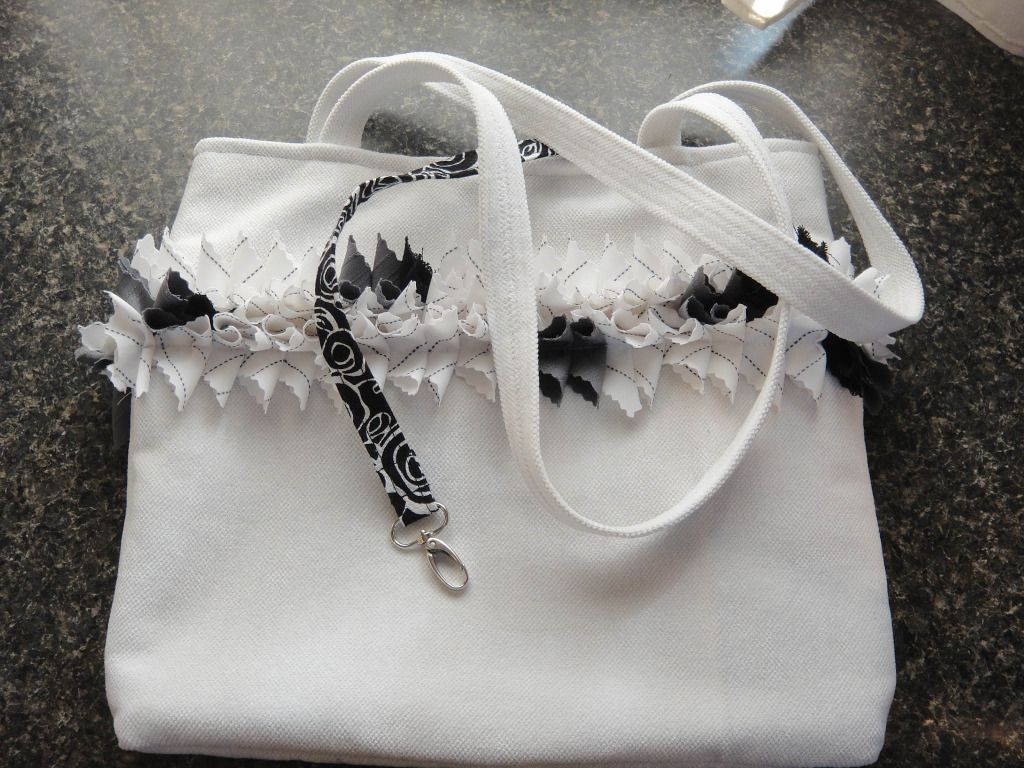
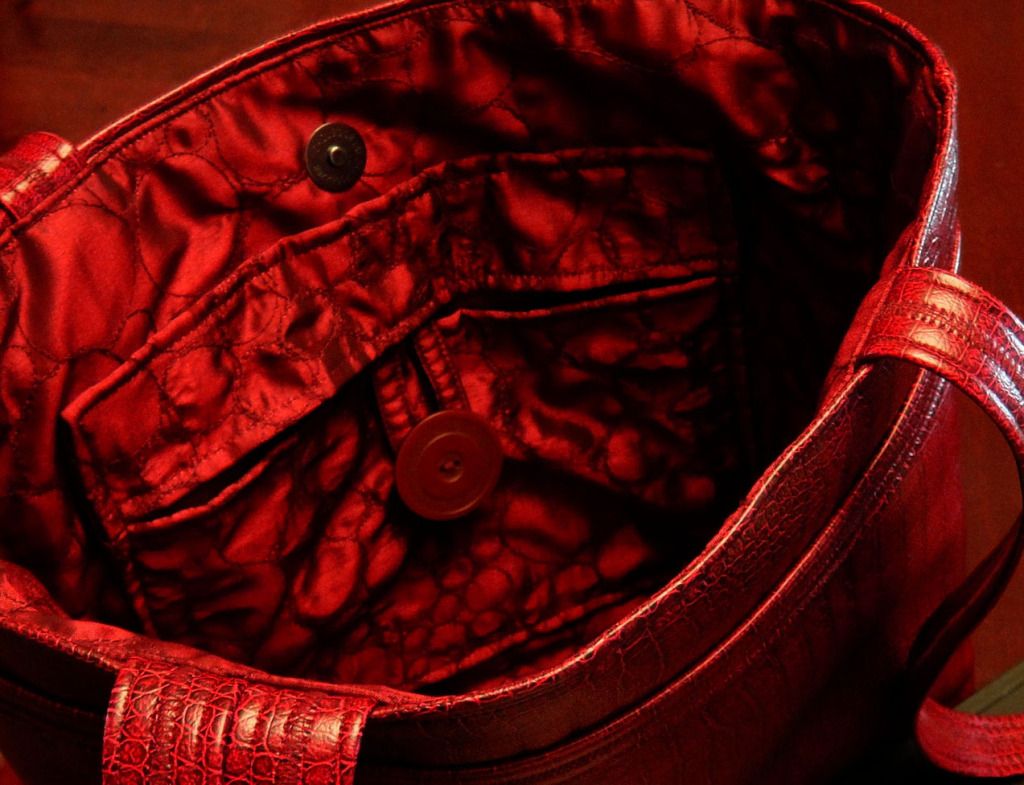
Finished Purse
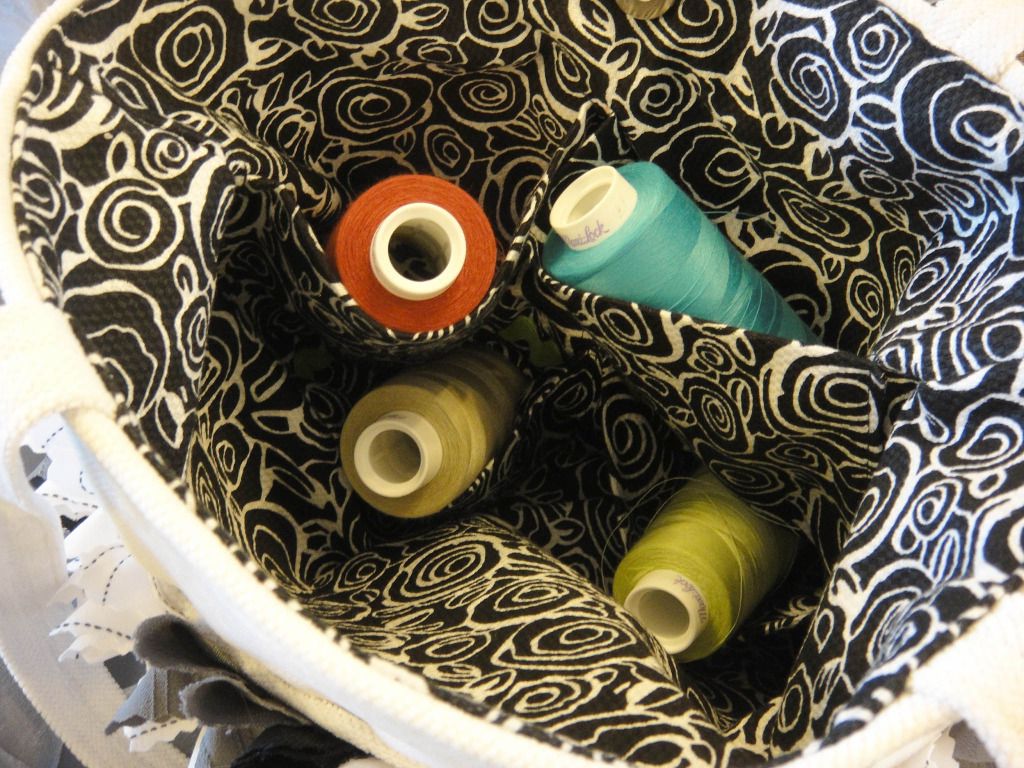
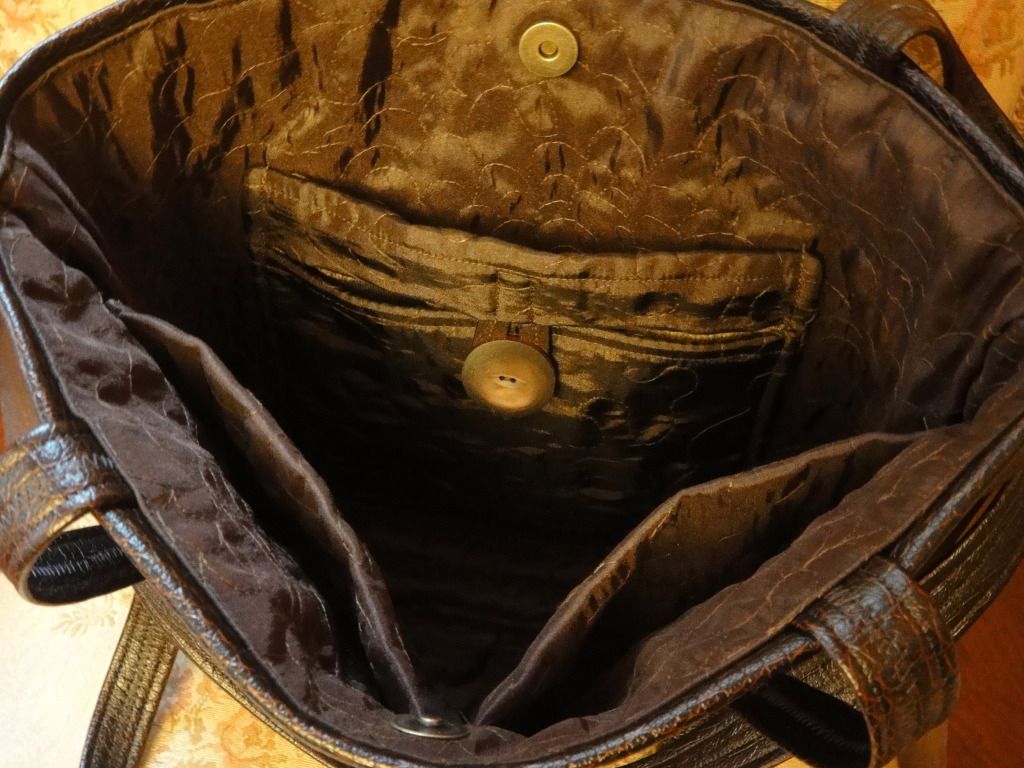
Purse Interior has 4 stacked pockets, and a key fob.

****
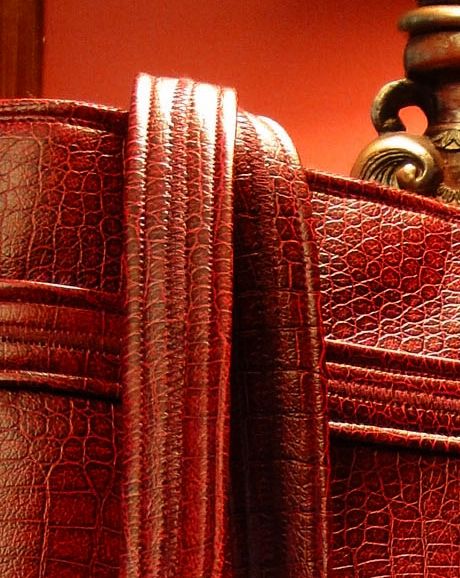
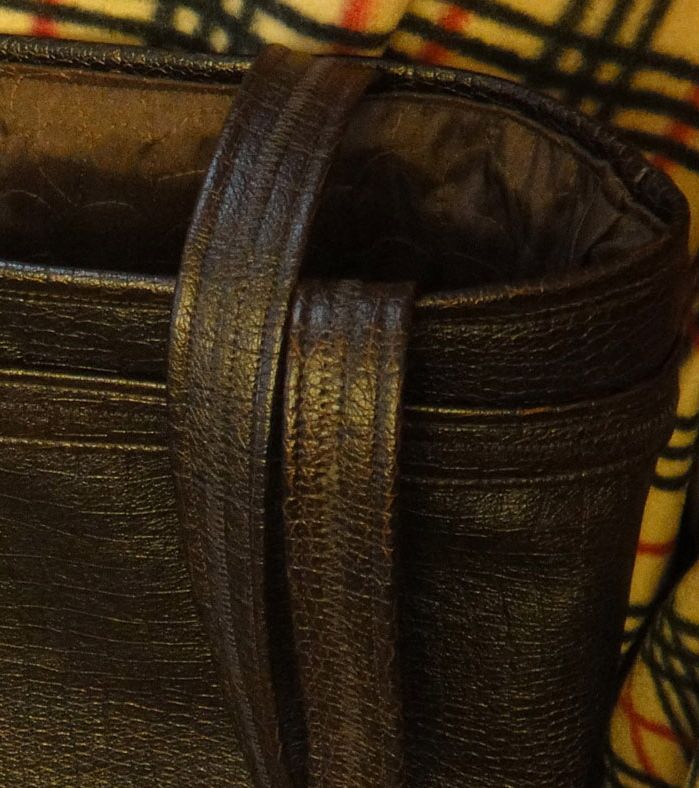
I apologize for accidently erasing my previous post "Seeing Red" where I was showing you a red and a brown faux leather purses I just finished.
What can I say?  I messed up. 

Here are some photos from that post


Tuesday, October 16, 2012

How to Repair A Frayed Seam - Tutorial


Are you coming apart at the seams??????

Here's how to Repair a Frayed Seam --it's Quick and Easy

Lots of Photos to Show You How

Step by Step Tutorial

You'll need
"Seams Great" - (shown here in the package). 

It is a very sheer and light--but strong seam reinforcement ribbon (1-1/4" wide). 
or in a pinch you can use a piece of light weight fabric that doesn't fray. 

You can find "Seams Great" at fabric stores like Joann Fabrics.   


At the end of the lesson, I'll tell you another great use for "Seams Great."

***

This is a bolster pillow from a client's expensive bed ensemble that has come apart at the seam.

Seams Great ribbon will reinforce the seam--and keep it from pulling apart again.

***

1. To stop the material from fraying, I've pinned a length of Seams Great ribbon to the upper seam. 


2. Just below the threaded needle you can see through the sheer black Seams Great ribbon, and notice I extended the sheer black reinforcement ribbon below the frayed edge to pin it. 


3. I'm right handed, and beginning at the right I insert a threaded/knotted needle into the ribbon, and took 3-4 running stitches and pulled the thread through. I continued making running stitches in a straight line to the end of the repair.  Re-thread and sew over your first line of running stitches to secure.


4. While making the running stitches I lift material upwards slightly with my finger because I don't want to sew into any of the batting (stuffing). 


5.  I've pinned the bullion decorative trim up and out of the way, and as I come to the end of the repair and took 2-3 stitches in place, and the last stitch forms a knot.


6.  In this photo--I turned the pillow upside down, and am using my fingers to tuck the ribbon inside of the pillow.


7.  With the pillow still upside down, I pinned another length of Seams Great ribbon into position, holding it in place with a pin.  With a knotted thread start running stitches across.  Re-thread and sew over your first line of running stitches to secure.


8. Pin decorative bullion trim away from the opening.  Tuck the Seams Great ribbon inside until you can't see the black.


9.  I'm using a caramel brown thread to match background of fabric.  Hand stitch to close.  I use a couple of yellow headed pins to pull the seam together in advance of hand stitching.

Once I reach the end of the repair, I take 2-3 stitches in place and form a knot.   I re-thread my needle and sew the closed seam one more time. 
  

Believe me, this seam will Never Ever come apart again. 

***
Another use for Seams Great . . . is to ease sleeves into a bodice,
(to gather the top of the sleeve). 

   The Seams Great sheer ribbon is light, strong, but also has quite a bit of stretch to it. 

 Primarily I use Seams Great when I am constructing garments with fussy fabric that frays terribly. 

In truth, fabric like this bollster above should have had their seams reinforced
with ribbon during the manufacturer's construction. 

Tailors and costume designers all use reinforcement ribbon in suits and evening gowns.