

I received 2 matching library card file credenzas from my neighbor--a very generous gift. If you look closely you can see this 60 drawer credenza consists of 4 sections bolted together. I removed the screws distmantling the credenza which included freeing the top and bottom 1-1/4" boards.

Mom removed all the brass from the drawers (120pc) and cleaned each one with fine steel wool.

Here are 1/3 of the drawers I sanded wooden fronts, primed, and 2 top coats of satin enamel. These vintage library card file drawers have plastic boxes with wooden fronts--easy to keep clean.

Here's what the credenzas looked like as I started the project. Flaking paint and very dirty brass.

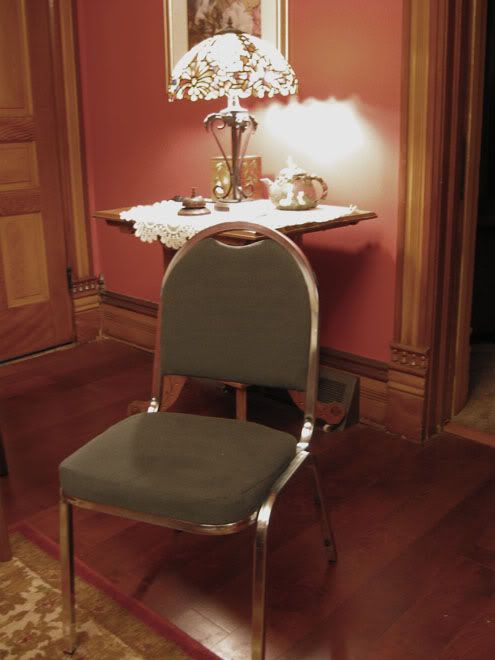
Other things I refurbished for the studio--four metal chairs, purchased for a couple dollars each. I put new soy foam on them and purchased remnant fabric at Hancock fabrics--my home away from home, ha ha.

The metal chairs were so stinky, we hauled them home from the garage sale gagging all the way.
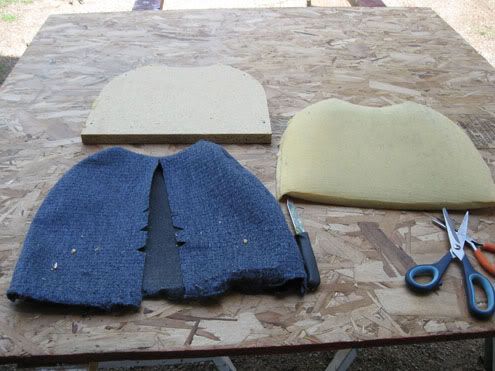
Taking the chair apart gave I got form fitting measurements.

I recovered 2 wooden chairs--here is one after I finished the upholstery.

Because these chairs where my FIRST upholstery projects, I photographed each stage of deconstruction, (insurance that I could put them back together again).
The two wooden chairs cost $5 each at a backyard sale. They also smelled terrible and were so full of dander I had to put on a mask even though I did the deconstruction outside. It was bad, very bad.
I started out with new soy based foam, and bargain fabric from the clearance section of Hancock fabrics.
Best tools: sharp scissors, electric staple gun, and confidence.

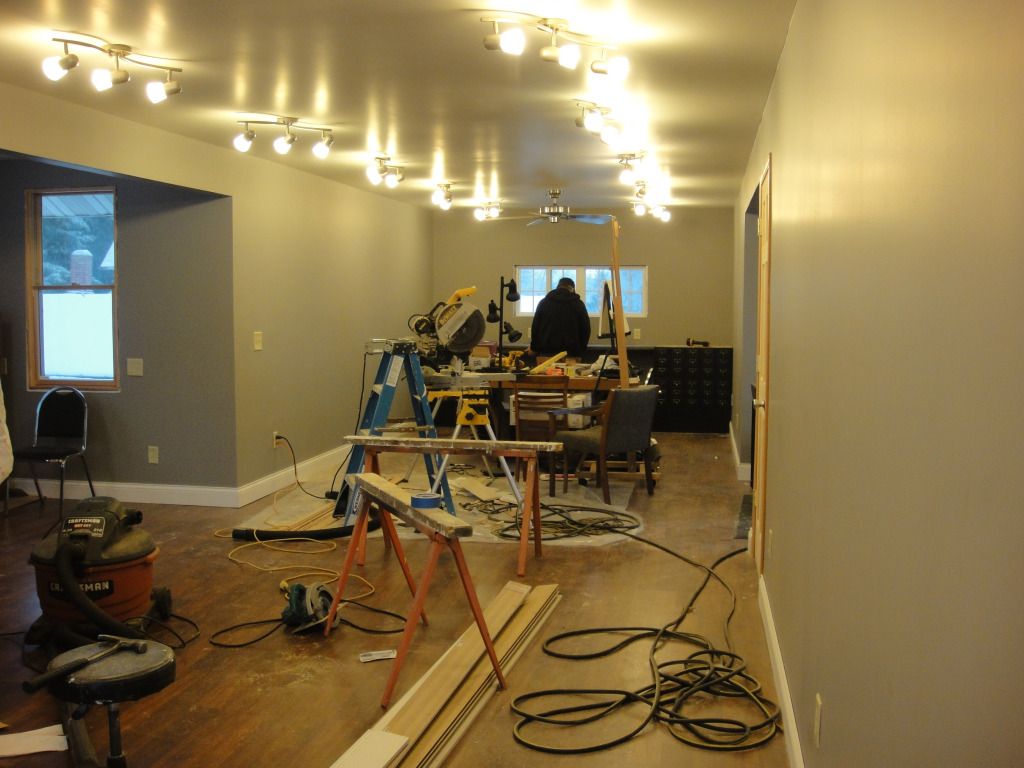
Right and Left: stacked card files. Jon carefully removed (sawed-off) the backsplash on the countertops to accommodate 29x57 windows. Sadly, the purple chair is going to Goodwill next week. I'm going to buy myself a new chair!

The lights are all discontinued products (reduced price).
Originally $49 each, I purchased the last four light fixtures at Menard's in Plover, WI for $15 each.
But first I asked lighting clerk for a print-out of other Menard's stores that had the same fixtures discountinued/on sale--to make sure I could get all 14 fixtures I needed for the studio.
Using the print out I called Menard stores in other states. I purchased the remaining 10 fixtures from Menard stores in Galesburg, IL (near my parents), and had the Des Moines IA and Rockford IL fixtures shipped to me.
Including shipping costs--I saved $450 using discontinued light fixtures.

I'm looking at the south end (balcony beyond the double doors). To the right is the west dormer (sewing area), and to the left is the east dormer elevator.

Any guess what this recycled item once was, or will be?
Let me begin by saying, each student will have an easel, chair, and wooden tv tray. I bought 12 wooden tv trays at various garage sales--primed and painted them black satin. Some of the tv trays came with their own caddy. This is a tv tray storage caddy.

But I'm going to use it for paintings display on the countertop.
Looking north now--Jon is in the north end working on another countertop and more library card file storage.
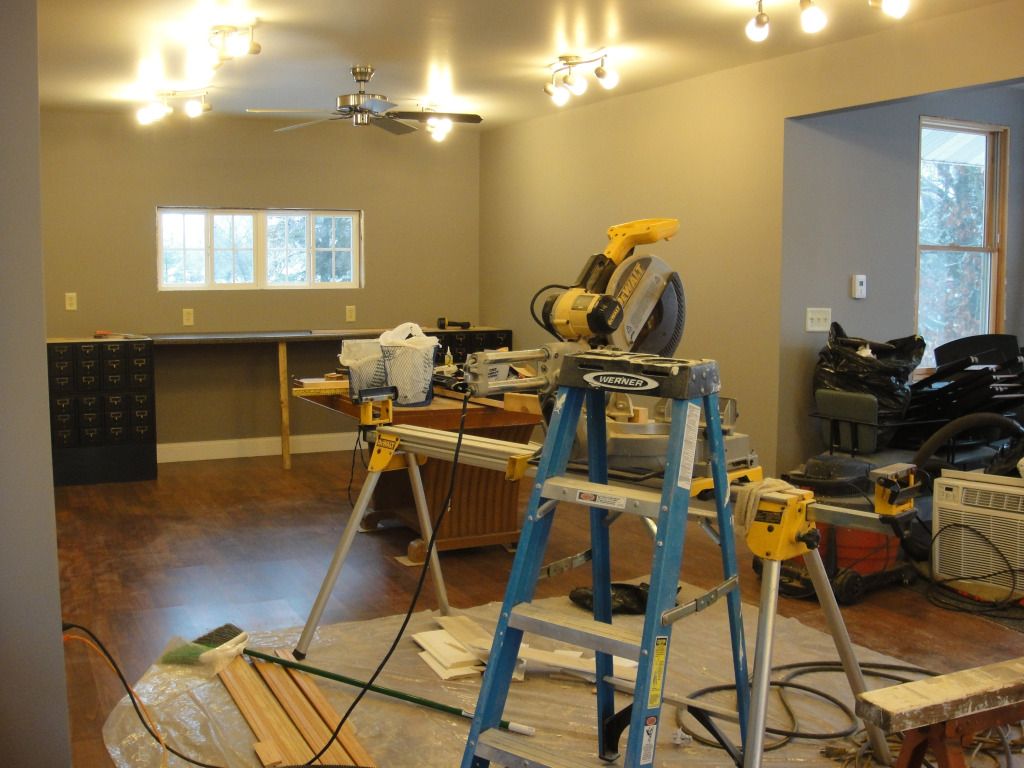
Pretty congested space right now with the saw and rail.

Last week I painted the platforms black for the library card files.
A temporary stick holds countertop that is screwed to a wall cleat. I took these photos yesterday, but today Jon added cleats to the card file sides, to support larger boards, underneath the laminate countertop-- then add an apron just behind the bullnose to hide the support boards.
As I write this blog, Jon is fabricating 2 plywood boxes that will sit on top of the left and right card files. These two 2 plywood boxes will extend to the ceiling, and create canvas storage space. Tomorrow I'll begin the task of priming the boxes and painting them black satin to match the card files.
Each box will have one shelf. The lower cubbies will be 32 inches high, 33 inches wide, and 24 inches deep--accommodating larger canvases. Upper cubbies 28 inches high hold smaller size canvases.
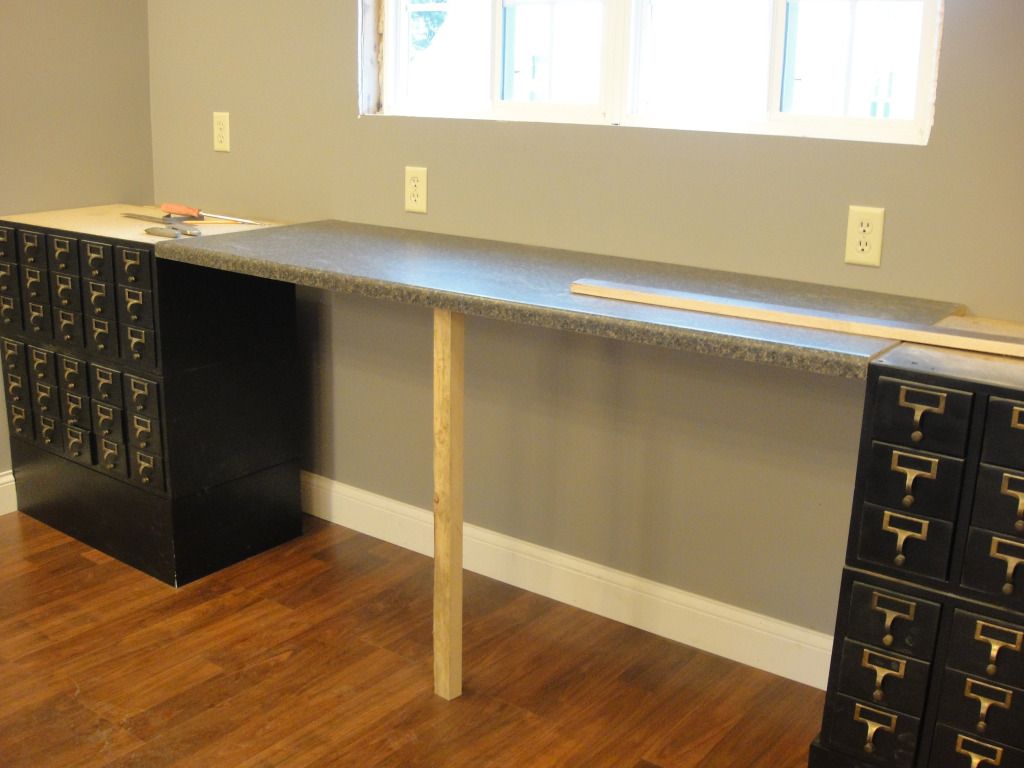
The card files have 17" deep drawers, and so the card file boxes are not as deep as the countertop. We're keeping the space open in the back, because there are outlets just within a hands reach.

Here's my Jon. Always a smile on his face. He can build anything! I sure love him.
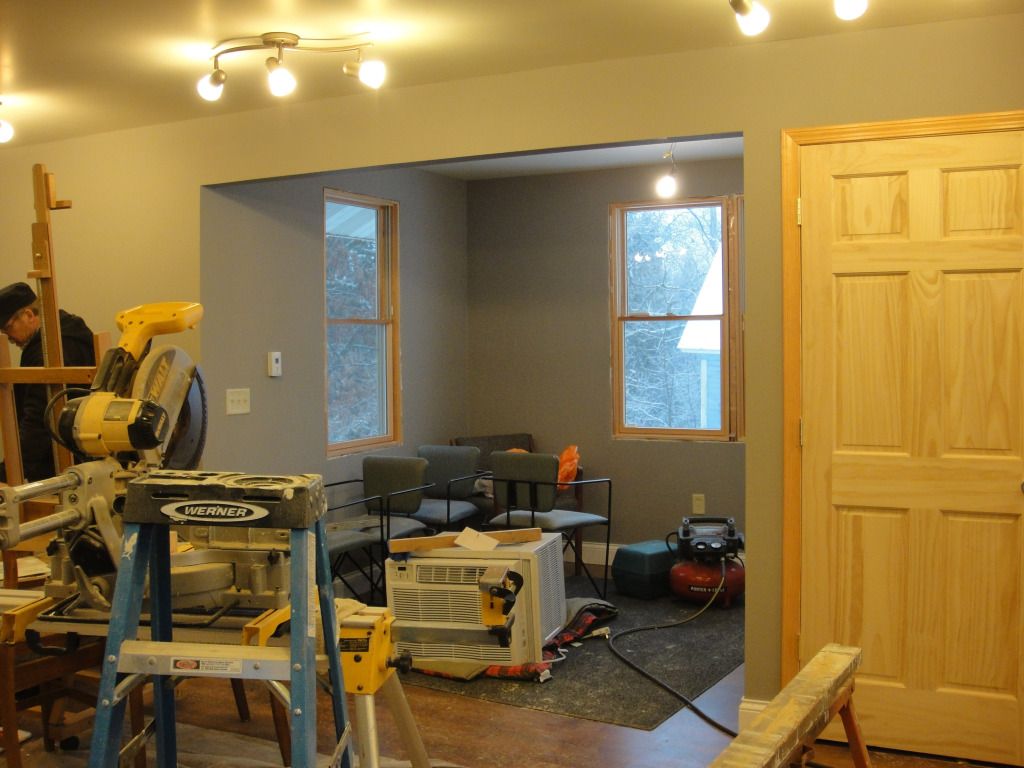
Looking across the room, into the east dormer. The backside of this closet door is the elevator, accessible from the east dormer.
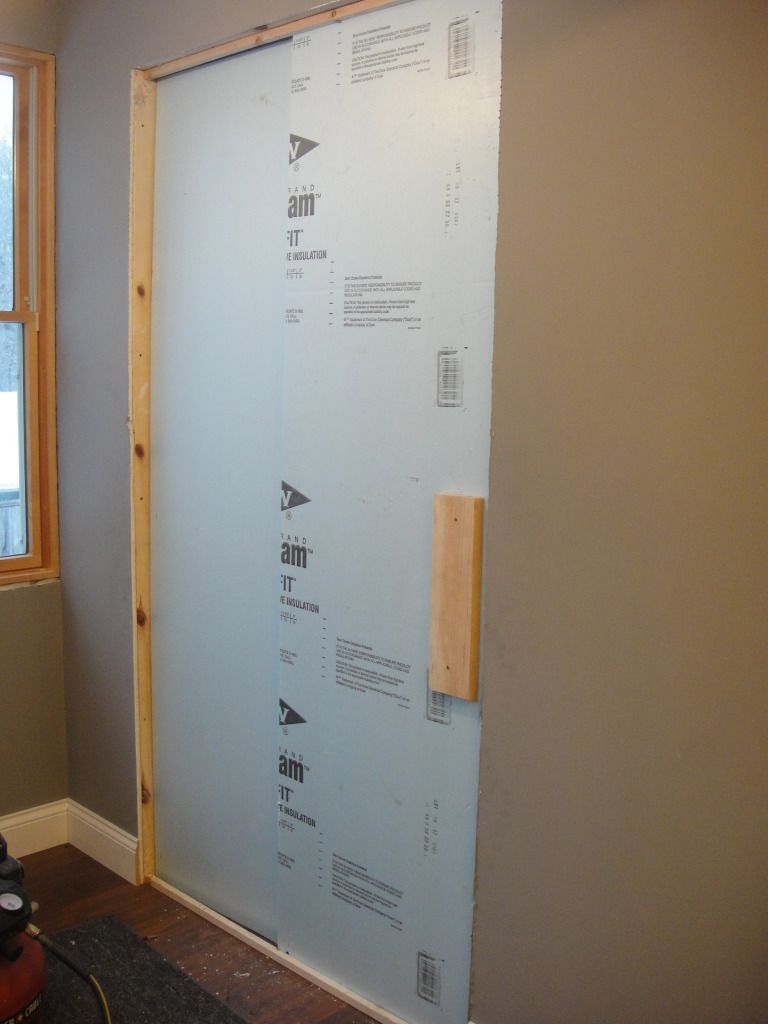
Here is the elevator shaft, with make-do-for-the-moment styrofoam sheets, (freezing weather outside).
No elevator yet. We still climb an aluminum ladder to get to the art studio.
I think the elevator will happen later this spring. I think.
Jon's favorite saying: (from the Red Green Show) . . .
I'm a man,
And I can change,
If I have to.
I'll be posting more studio photos this week.
I'm excited about the shelf rails to be installed around the wall perimeter--maybe tomorrow.
Goodnight for now. Sleep tight.


those card catalogue's turned out great. What a wonderful, huge space you have. But I think I would have to have some stairs! be careful!
ReplyDeleteThanks for visiting me and touching my heart with your wonderful comments.
It's amazing to watch your projects come to fruition, and all the more amazing to see your vision as everything comes together! The card catalogues turned out great — they remind me to put a new flat file on my own list of projects!
ReplyDeleteThat's a great idea about using the card catalogs as a base. I have seen them kept as free-standing cabinets before, and they don't seem all that decorative or useful that way.
ReplyDeleteBy the way, I find it hard to believe that's your first reupholstering project; it looks perfect.
--Road to Parnassus
Love the look of your studio. You say your husband can build anything...I think you are just as talented. Love the card catalogues as bases for the counters. Great job.
ReplyDeleteWow, lots of progress! Nice to see that things are still moving along nicely!
ReplyDeleteHi Mrs. D-
ReplyDeleteIt's nice to go back and see all you've done so far for the new art studio. Both you ands Jon have really worked hard to do such a great job. And you're so thrifty! I wish I had the knack to recycle and save money the way you do! I'll trade you my husband Terry for Jon when it comes to handyman things, lol! It's up to me to do any carpentry or fix-it projects at our house. :-)
-Pam